Bring contacts into Webmail from a vCard (`.vcf`) or CSV file — for example when moving from another mail provider. Importing runs through a short wizard: choose where the contacts go and what file to use, confirm how the file is laid out, then match its columns to contact fields. This guide walks through the whole flow.
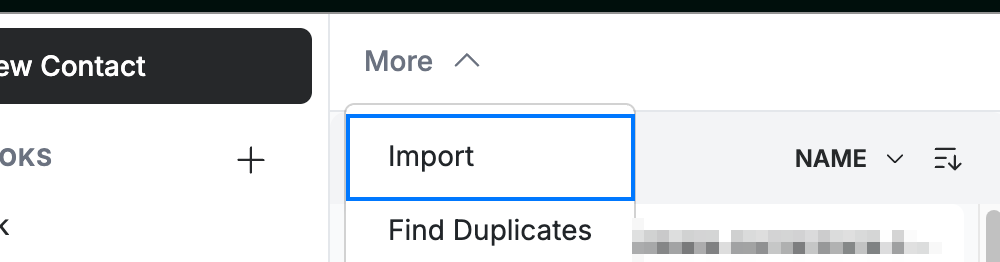
Step 1 — Open the More menu
Click More (blue) in the contacts toolbar.

Step 2 — Select Import
Select Import (blue) from the menu.
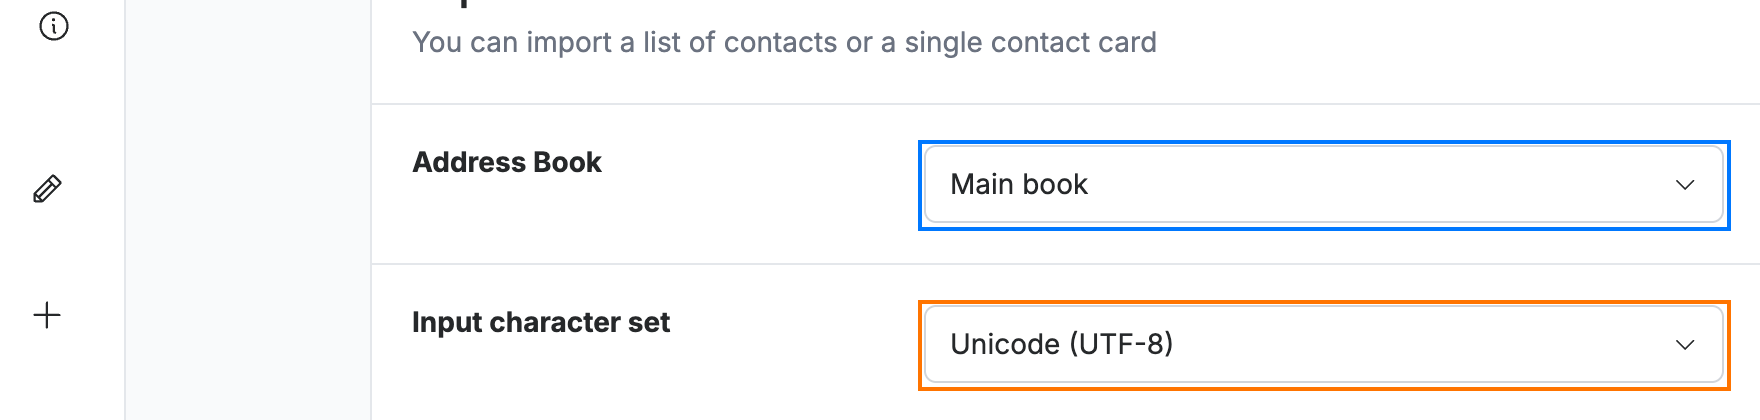
Step 3 — Set the import options
Choose where the contacts go and how the file is encoded:
- Address Book (blue) — select the book to import into, such as your Main book.
- Input character set (orange) — leave it on Unicode (UTF-8) unless your file was exported with a different encoding (older exports sometimes use UTF-16 or a regional set).
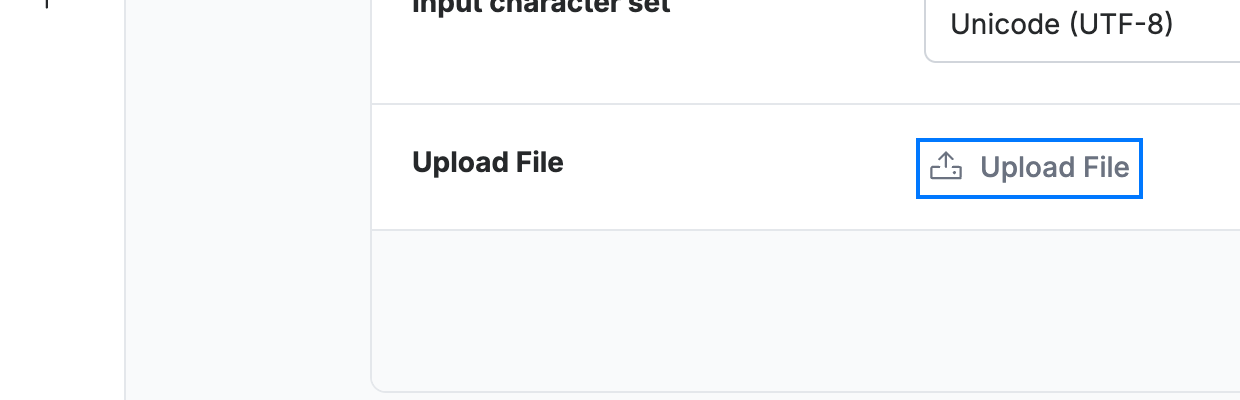
Step 4 — Upload your contacts file
Click Upload File (blue) and select your `.vcf` or `.csv` file from your device. Then click Next to continue.
Note: Upload File opens your device's file picker to select the file — that dialog belongs to your operating system, not Webmail.
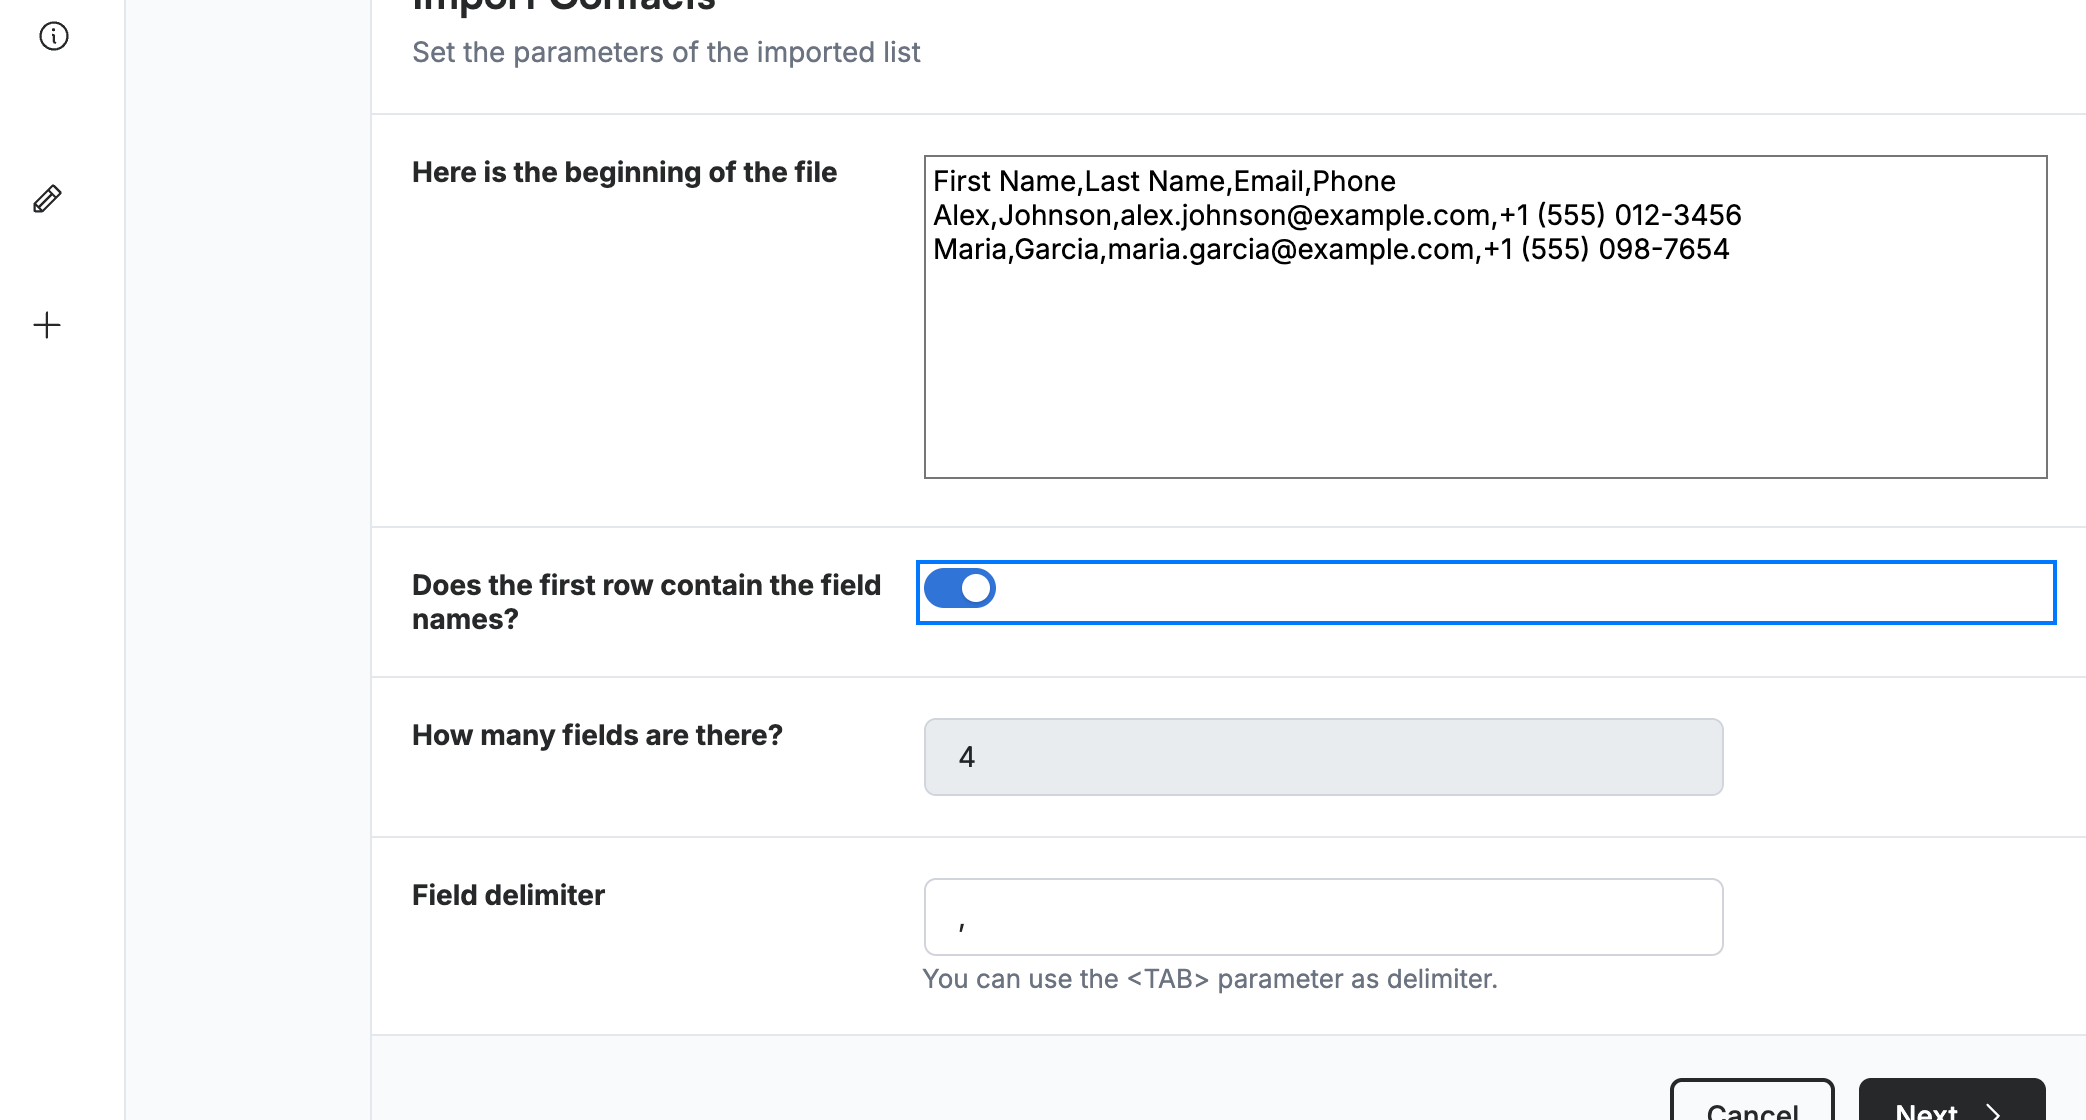
Step 5 — Confirm the file details
Review what Webmail detected from your file. Does the first row contain the field names? (blue) is ticked automatically when your file has a header row, and the field count and delimiter are filled in for you. Adjust them if needed, then click Next.
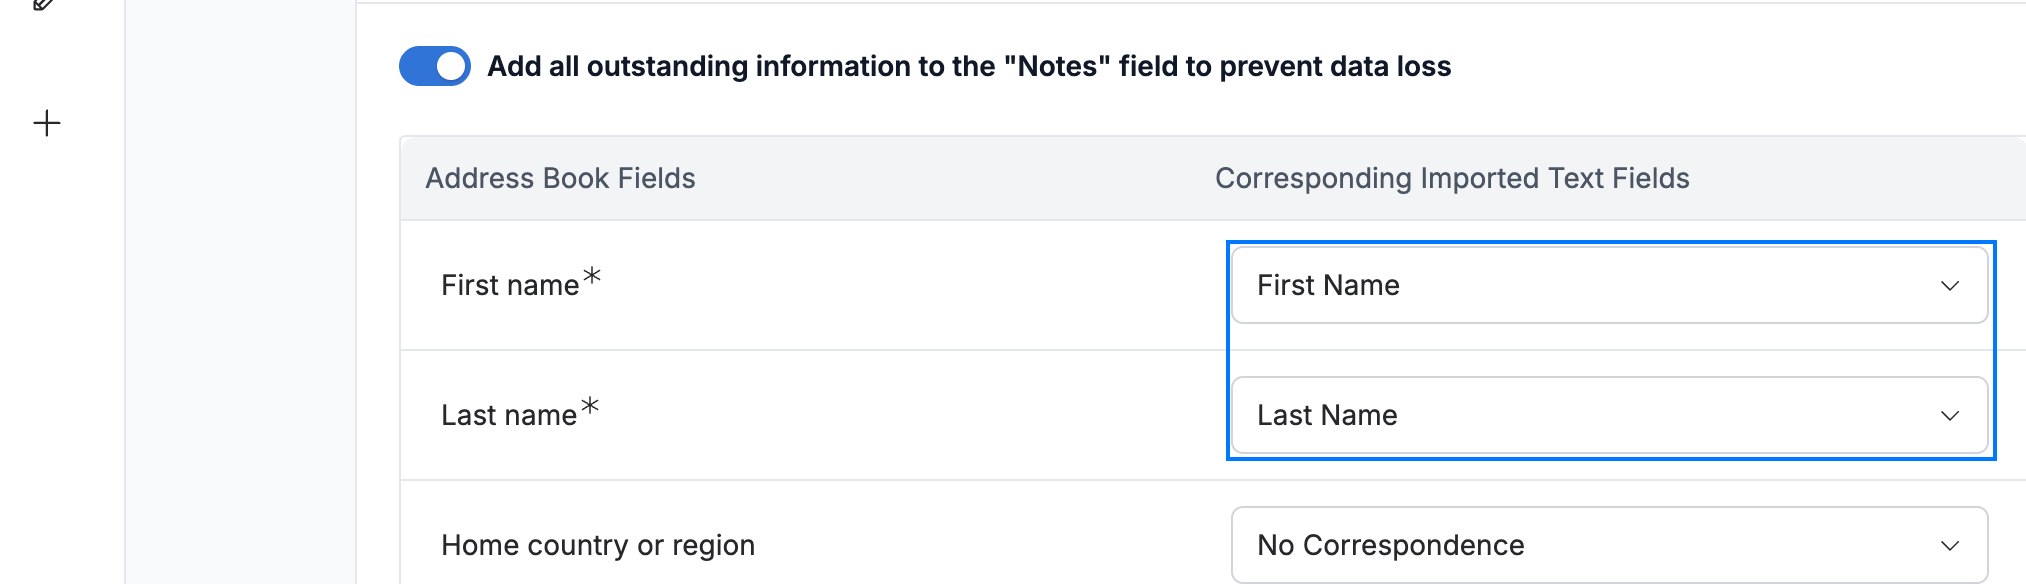
Step 6 — Match the fields
Review how Webmail matched your file's columns to contact fields. First name and Last name are matched automatically (blue); set any other columns using the dropdowns in the Corresponding Imported Text Fields column, or leave them as No Correspondence.
Tip: Tick Add all outstanding information to the "Notes" field at the top to keep any unmatched columns as a note on each contact, so no data is lost.
Step 7 — Import the contacts
Click Import (green) in the top-right to add the contacts to the selected address book.

Explore our other guides to get the most out of Webmail.