Share a calendar so colleagues can see or edit its events. Sharing is configured in the calendar's Sharing & Permissions section — either with everyone in your domain or with specific people. This guide shows both options.
Before you begin: Calendars can only be shared with users on the same email domain as you.
Step 1 — Open the calendar menu
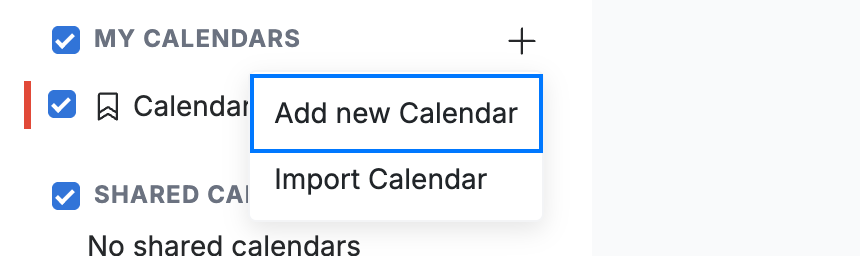
Click the + button next to My Calendars in the sidebar, then select Add new Calendar (blue). The same Sharing & Permissions options appear when you edit an existing calendar.
Step 2 — Share with everyone in your domain
Open the Domain Users dropdown (blue) and choose a permission for all domain users: Read only lets them view events, Add lets them add events too. Leave it on Do not share to keep the calendar private.

Step 3 — Share with specific users
Enter a colleague's address in the Specific Users field, choose their permission from the dropdown (Read only or Add), then click Add (blue).
Note: Read only lets the user view your events; Add also lets them create events on the calendar.

Step 4 — Save the calendar
Click Save Calendar (green) to apply the sharing settings.

Explore our other guides to get the most out of Webmail.