Set up an auto-reply to respond to incoming messages automatically while you are away — useful for out-of-office and vacation notices. This guide walks through creating a new auto-reply, including its message, how often it sends, when it is active, and optional conditions.
Step 1 — Open Settings
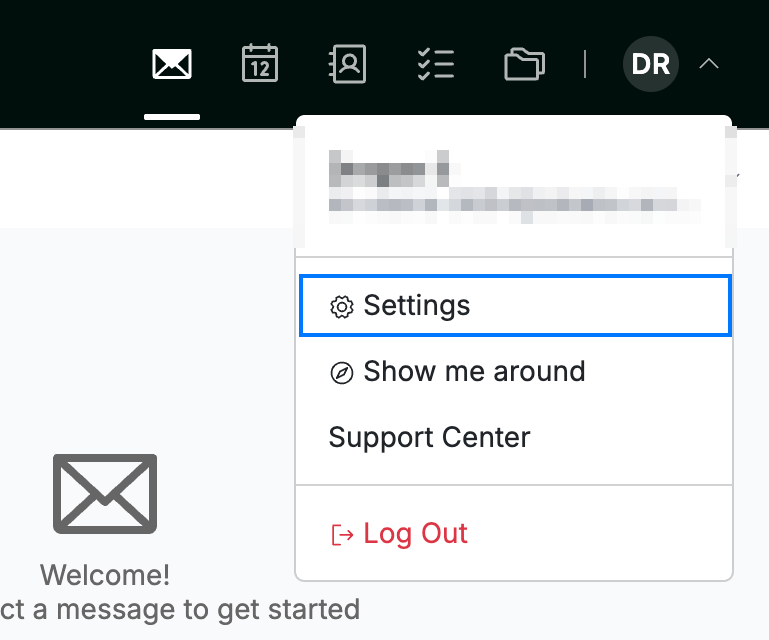
Open the user menu by clicking your initials in the top-right corner, then click Settings.
Step 2 — Select Auto-replies
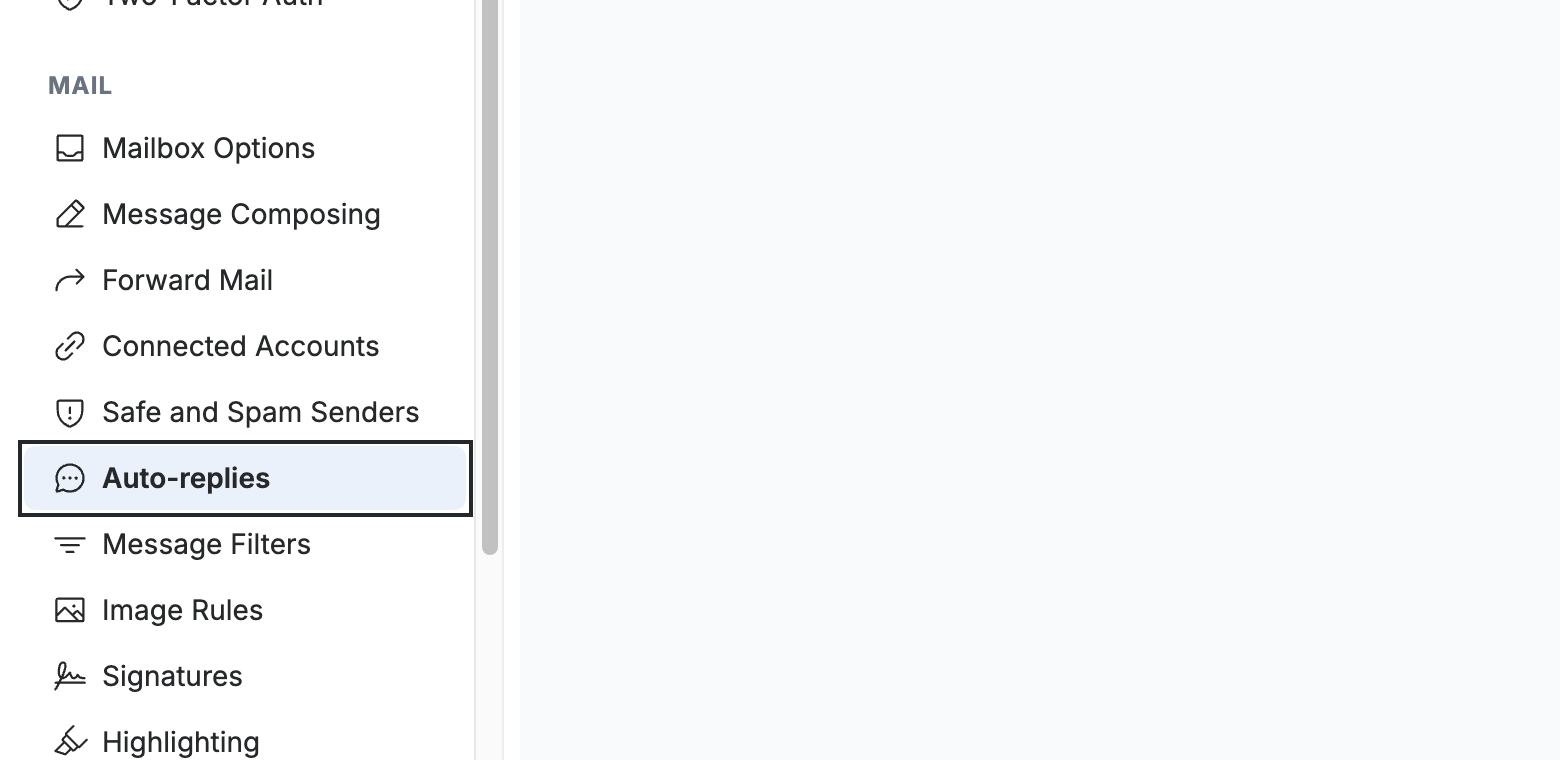
Select Auto-replies from the left sidebar, under the Mail section.
Step 3 — Click New Auto-Reply
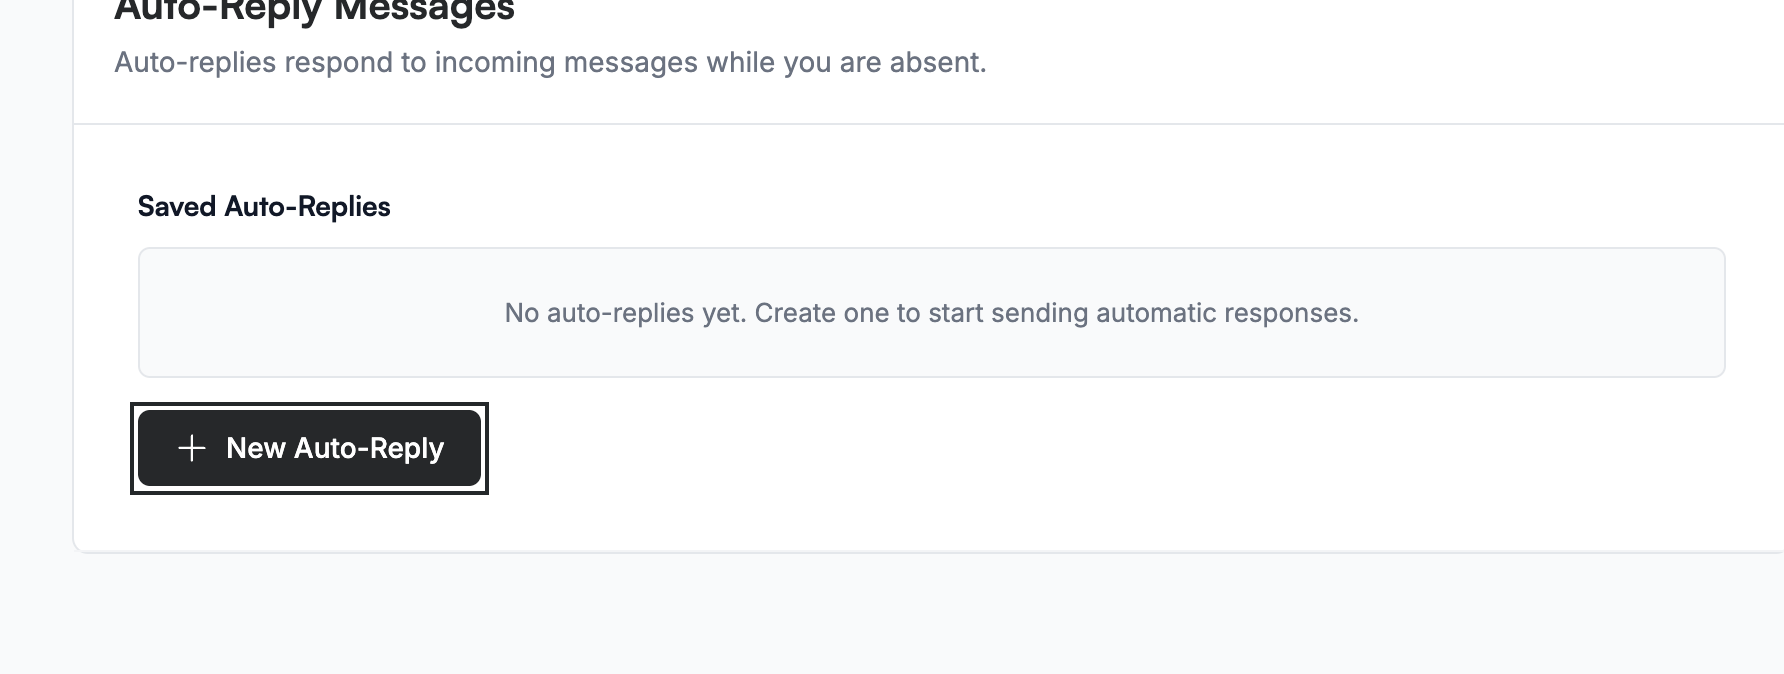
Click New Auto-Reply to open the auto-reply form.
Step 4 — Enter the subject and message
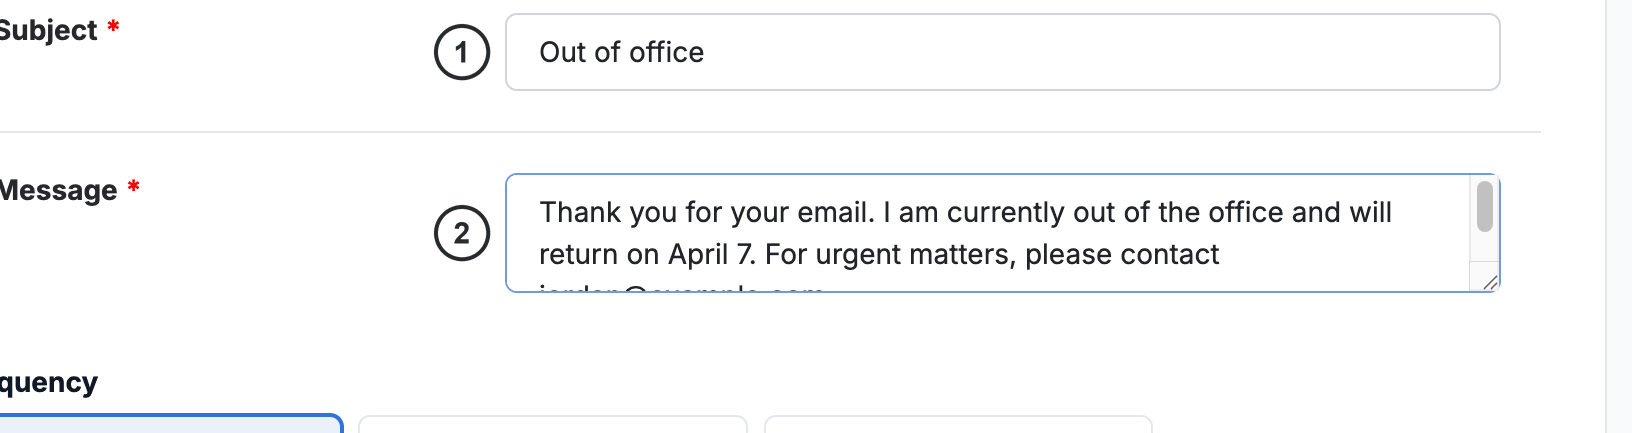
Enter the Subject ① and the Message ② for your reply. Both fields are required, shown by the asterisk (*) next to each label.
Step 5 — Choose how often to reply
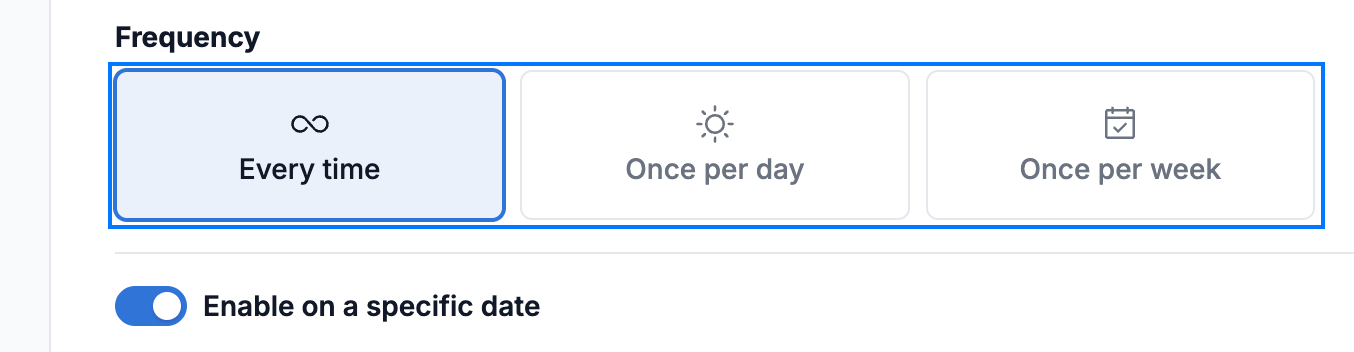
Select how often a sender receives your reply under Frequency:
- Every time — reply to every message the sender sends.
- Once per day — reply at most once a day to each sender.
- Once per week — reply at most once a week to each sender.
Step 6 — Set when the auto-reply is active
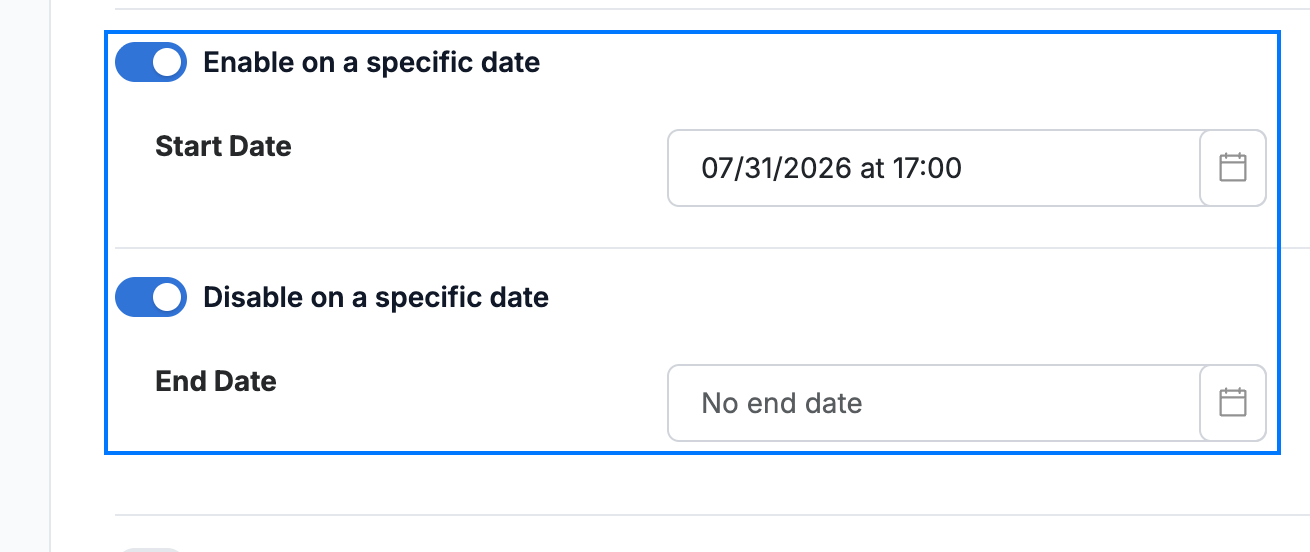
Set the dates your auto-reply runs:
- Enable on a specific date — turn this on and pick a Start Date for replies to begin.
- Disable on a specific date — turn this on and pick an End Date for replies to stop.
Note: If you leave Disable on a specific date off, the auto-reply stays active until you turn it off manually.
Step 7 — Apply custom conditions
Select Apply custom conditions to reply only to messages that match rules you define. A condition row appears: select what to match from the dropdown — for example, To specific address — and enter the value to match. Add more rows to combine several conditions.

Step 8 — Save the auto-reply
Click Add to save your auto-reply. It is created and added to your list of saved auto-replies.
Note: The Add button stays disabled until both the Subject and Message are filled in.
Tip: To stop an auto-reply later, return to this panel and edit or delete it from the saved list.

Explore our other guides to get the most out of Webmail.