Update the name and photo that represent you in Webmail from the Profile settings page. Your full name and profile image are how you appear to the people you email.
Step 1 — Open your Profile settings
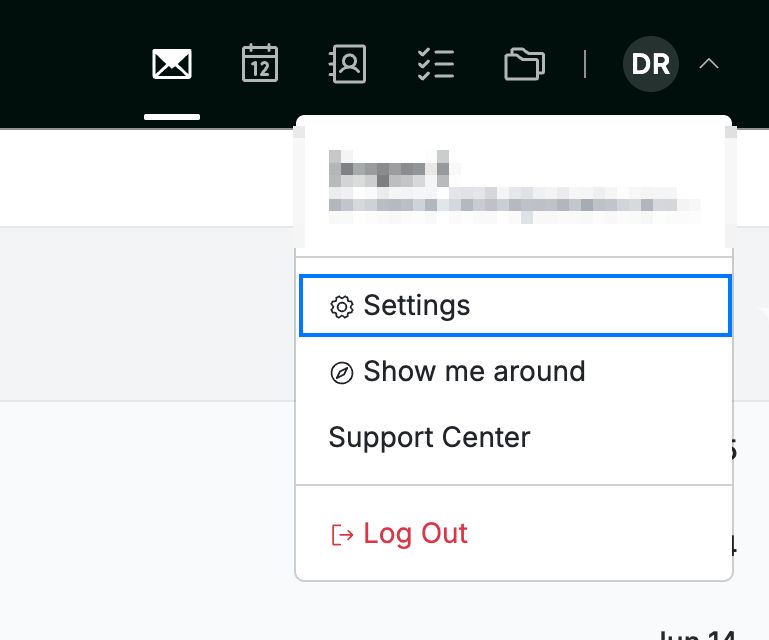
Open the user menu by clicking your initials in the top-right corner, then click Settings. The Profile page opens.
Step 2 — Review the Profile page
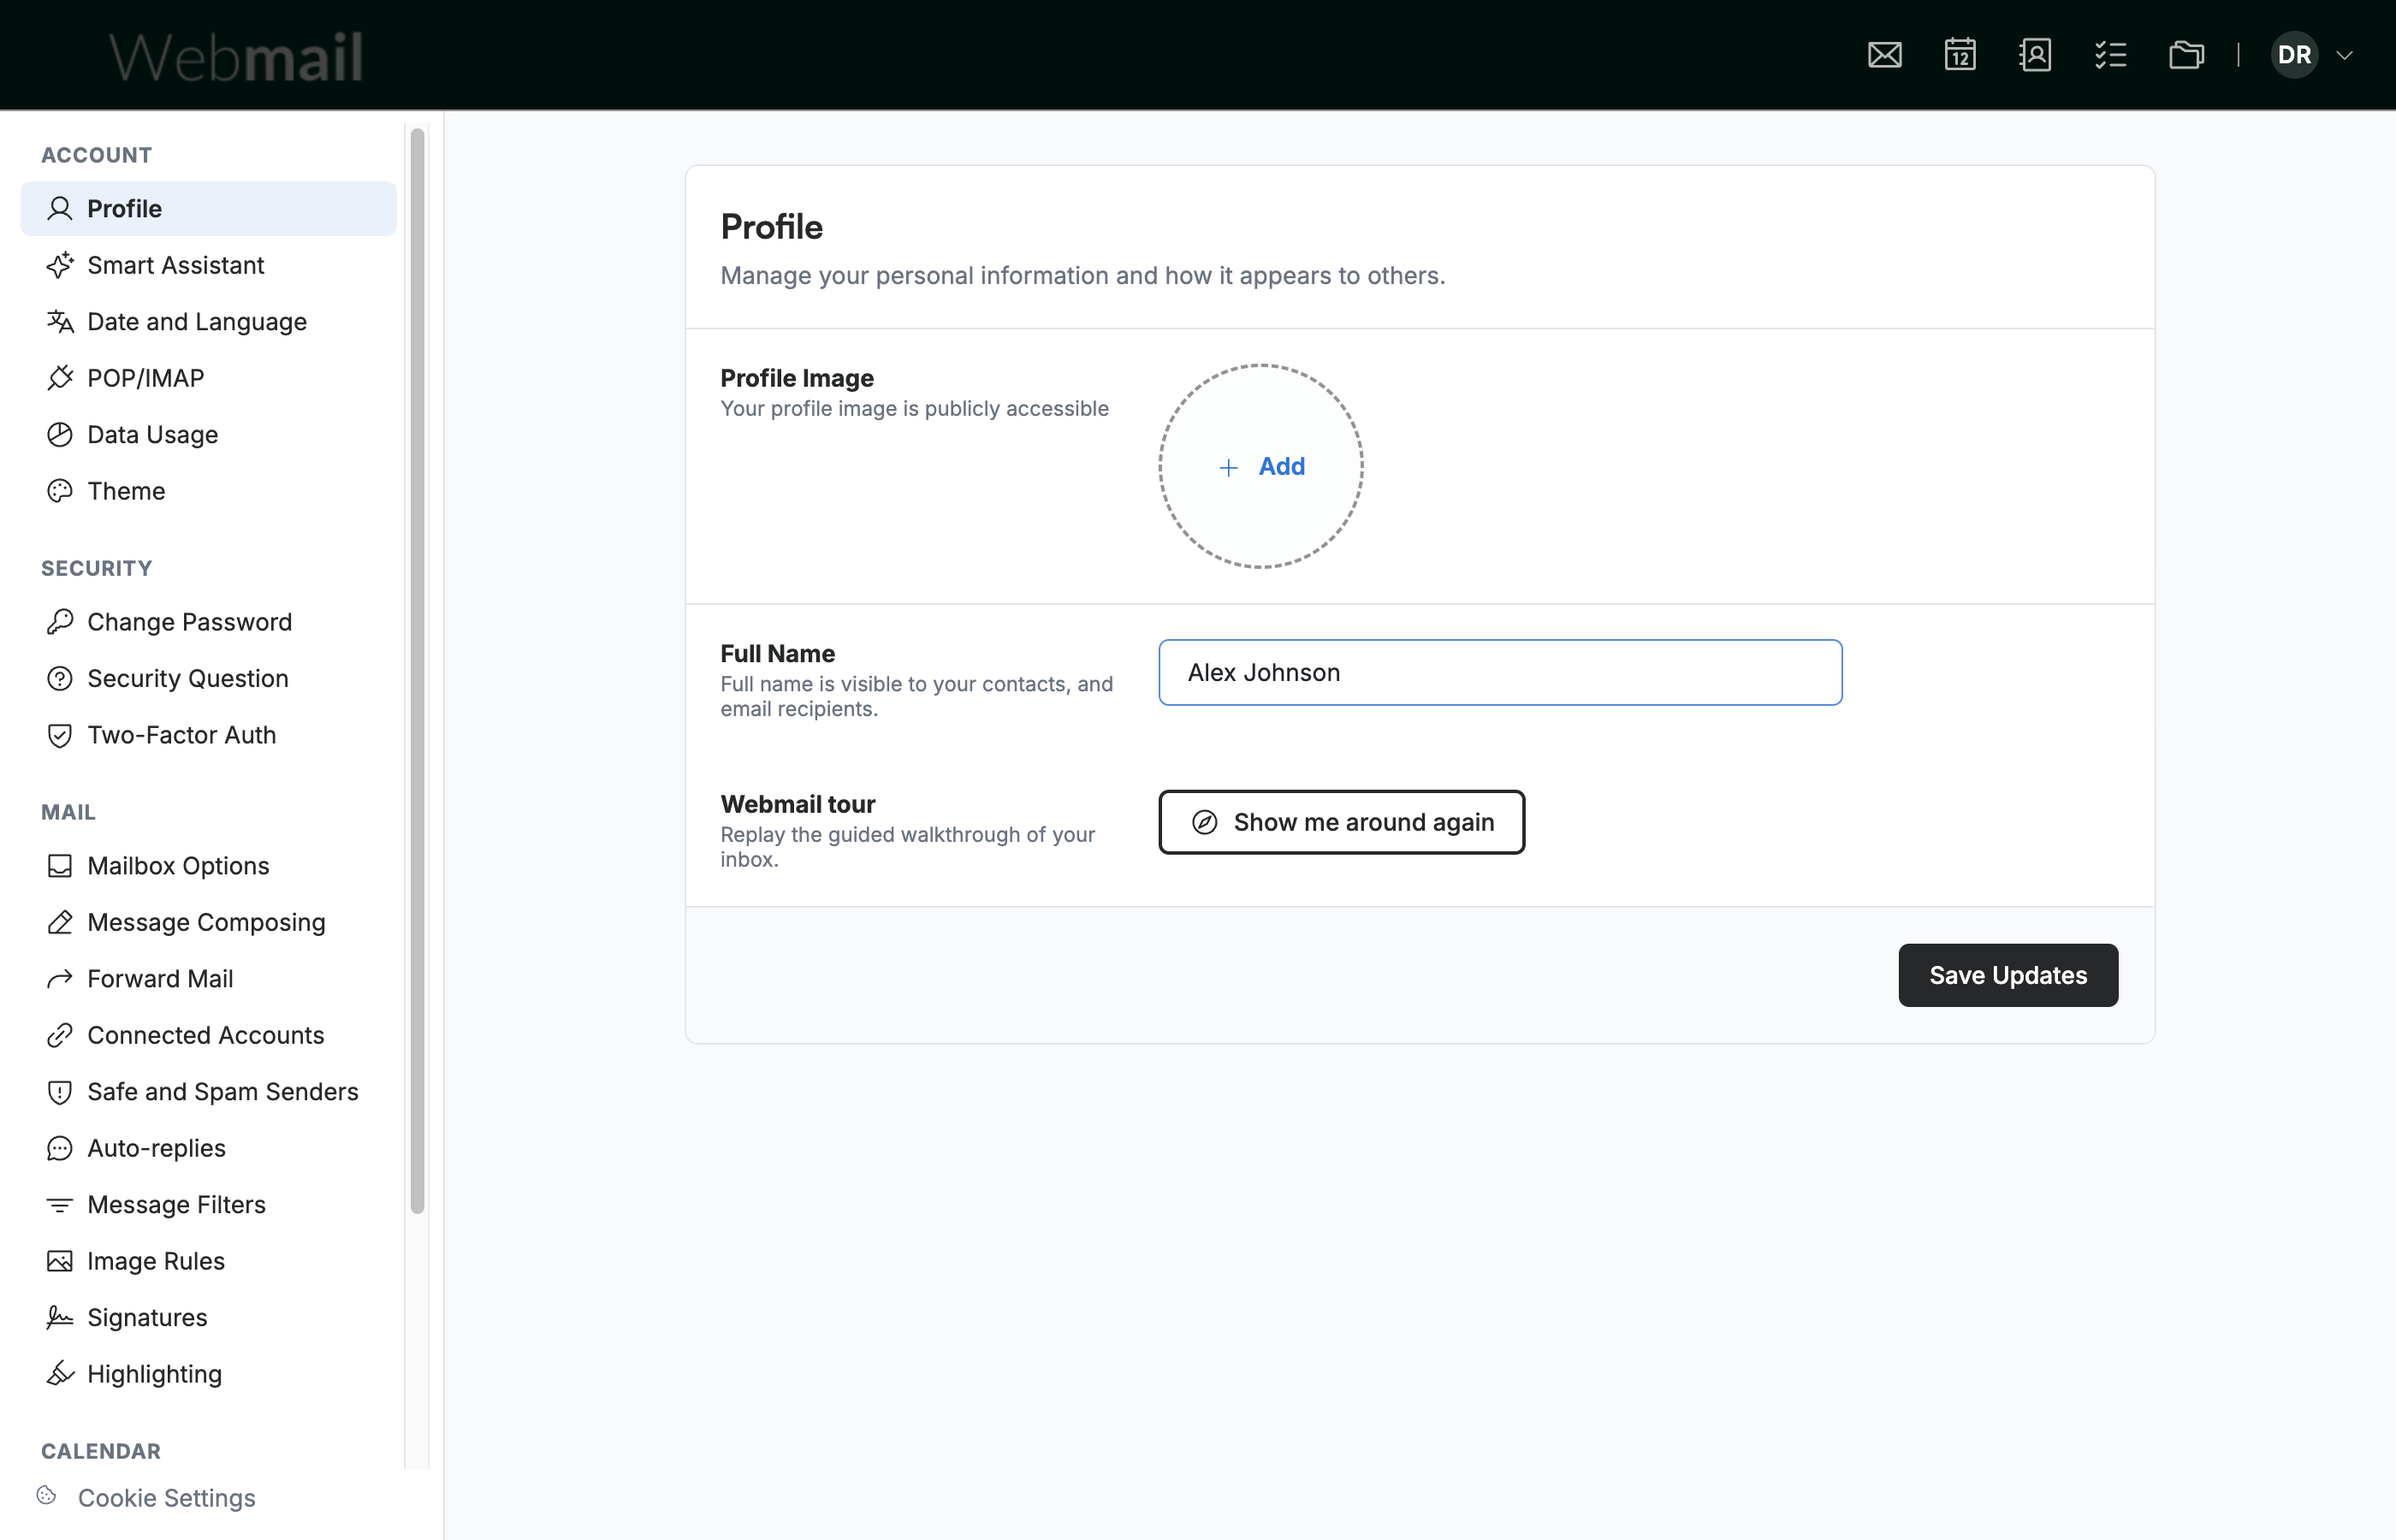
Review the Profile page. It shows your Profile Image and Full Name, with a Save Updates button to apply your changes. The page opens in a panel rather than taking over the full window.
Step 3 — Add a profile image
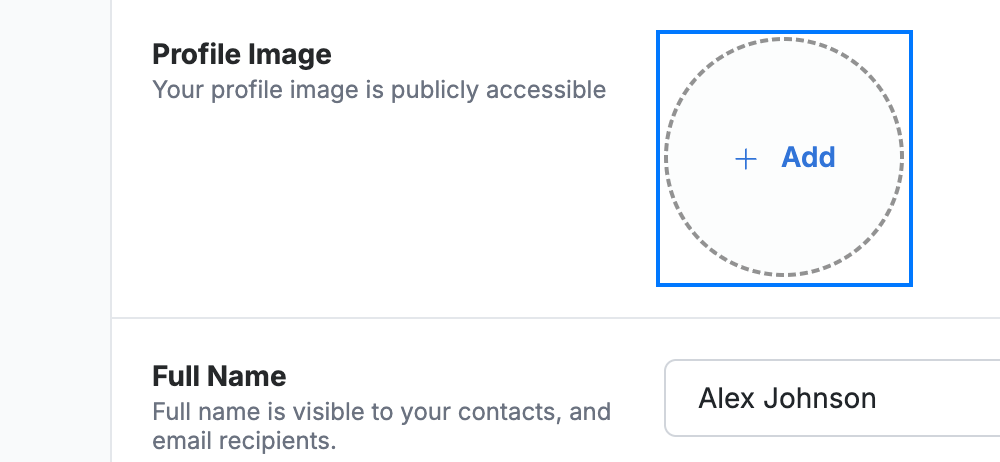
Click Add under Profile Image to upload a photo.
Tip: This opens your device's file picker — choose an image file and it appears as your profile image. The image is publicly visible to your contacts.
Step 4 — Enter your full name
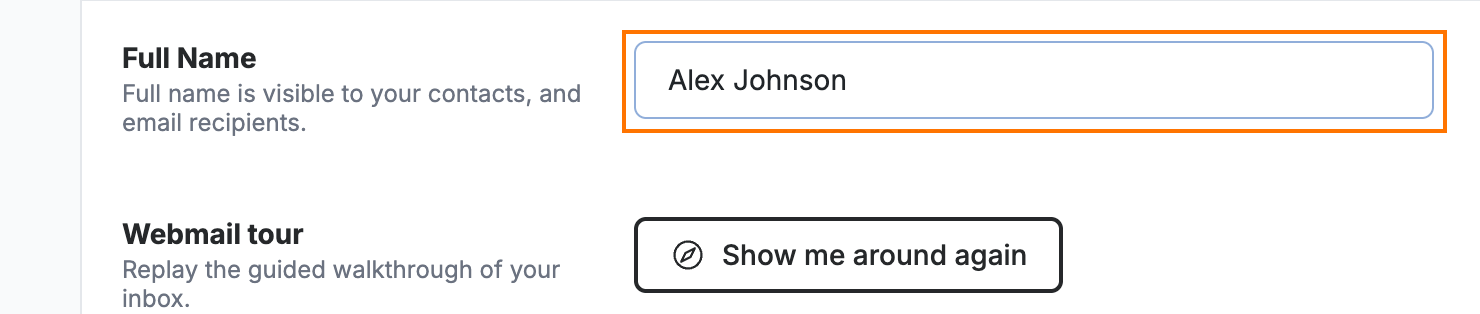
Enter your display name in the Full Name field. This is the name shown to people who receive your emails.
Step 5 — Save your changes
Click Save Updates to apply your new name and image.

Explore our other guides to get the most out of Webmail.