The Auto Meeting Scheduler watches your email conversations and, once a thread grows long enough to look like meeting planning, prompts you to turn it into a calendar event — so you don't have to create the meeting by hand. This guide shows how to turn it on and explains how it works.
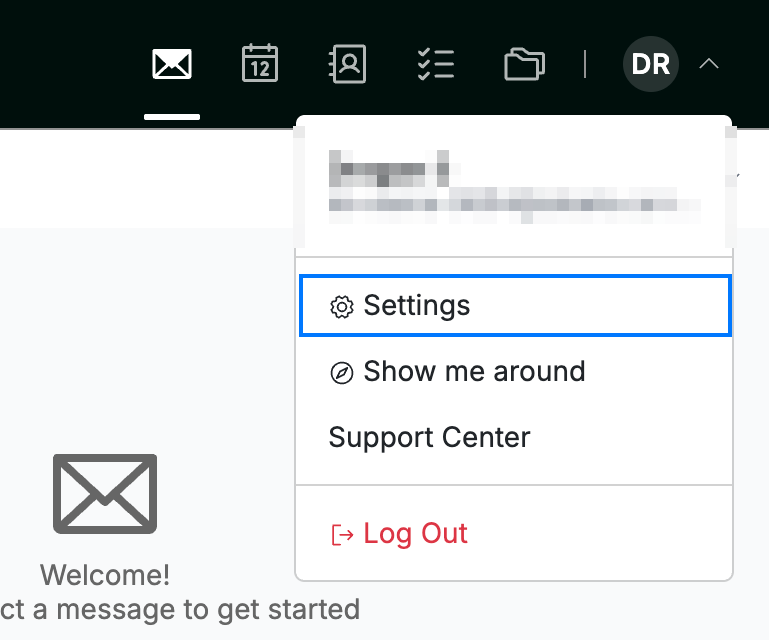
Step 1 — Open Settings
Click your avatar in the top-right corner and select Settings.
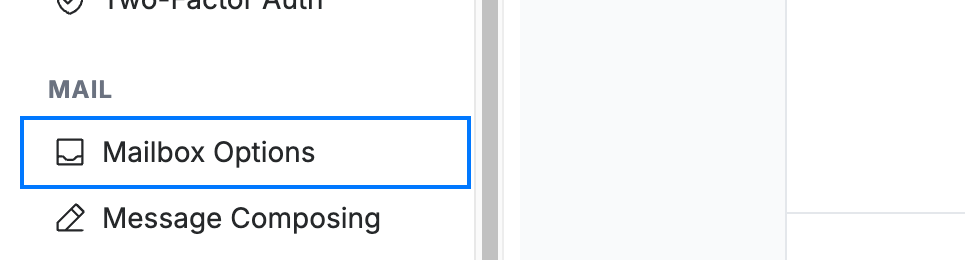
Step 2 — Open Mailbox Options
Select Mailbox Options from the Mail section of the settings sidebar.
Step 3 — Enable the Auto Meeting Scheduler
Click the Enable the Auto Meeting Scheduler toggle (blue) to turn it on.
Note: Once enabled, Webmail prompts you to create a calendar event when an email thread grows long (around ten messages) — the point at which a conversation usually turns into meeting planning. You stay in control: the event is only created if you accept the prompt.

Step 4 — Save your changes
Click Save Updates (green) to apply the setting.

Explore our other guides to get the most out of Webmail.