Add an image directly inside the body of an email so it appears inline with your text instead of as a separate attachment. This guide shows how to insert a picture from your computer or a web link and resize it once it is in place.
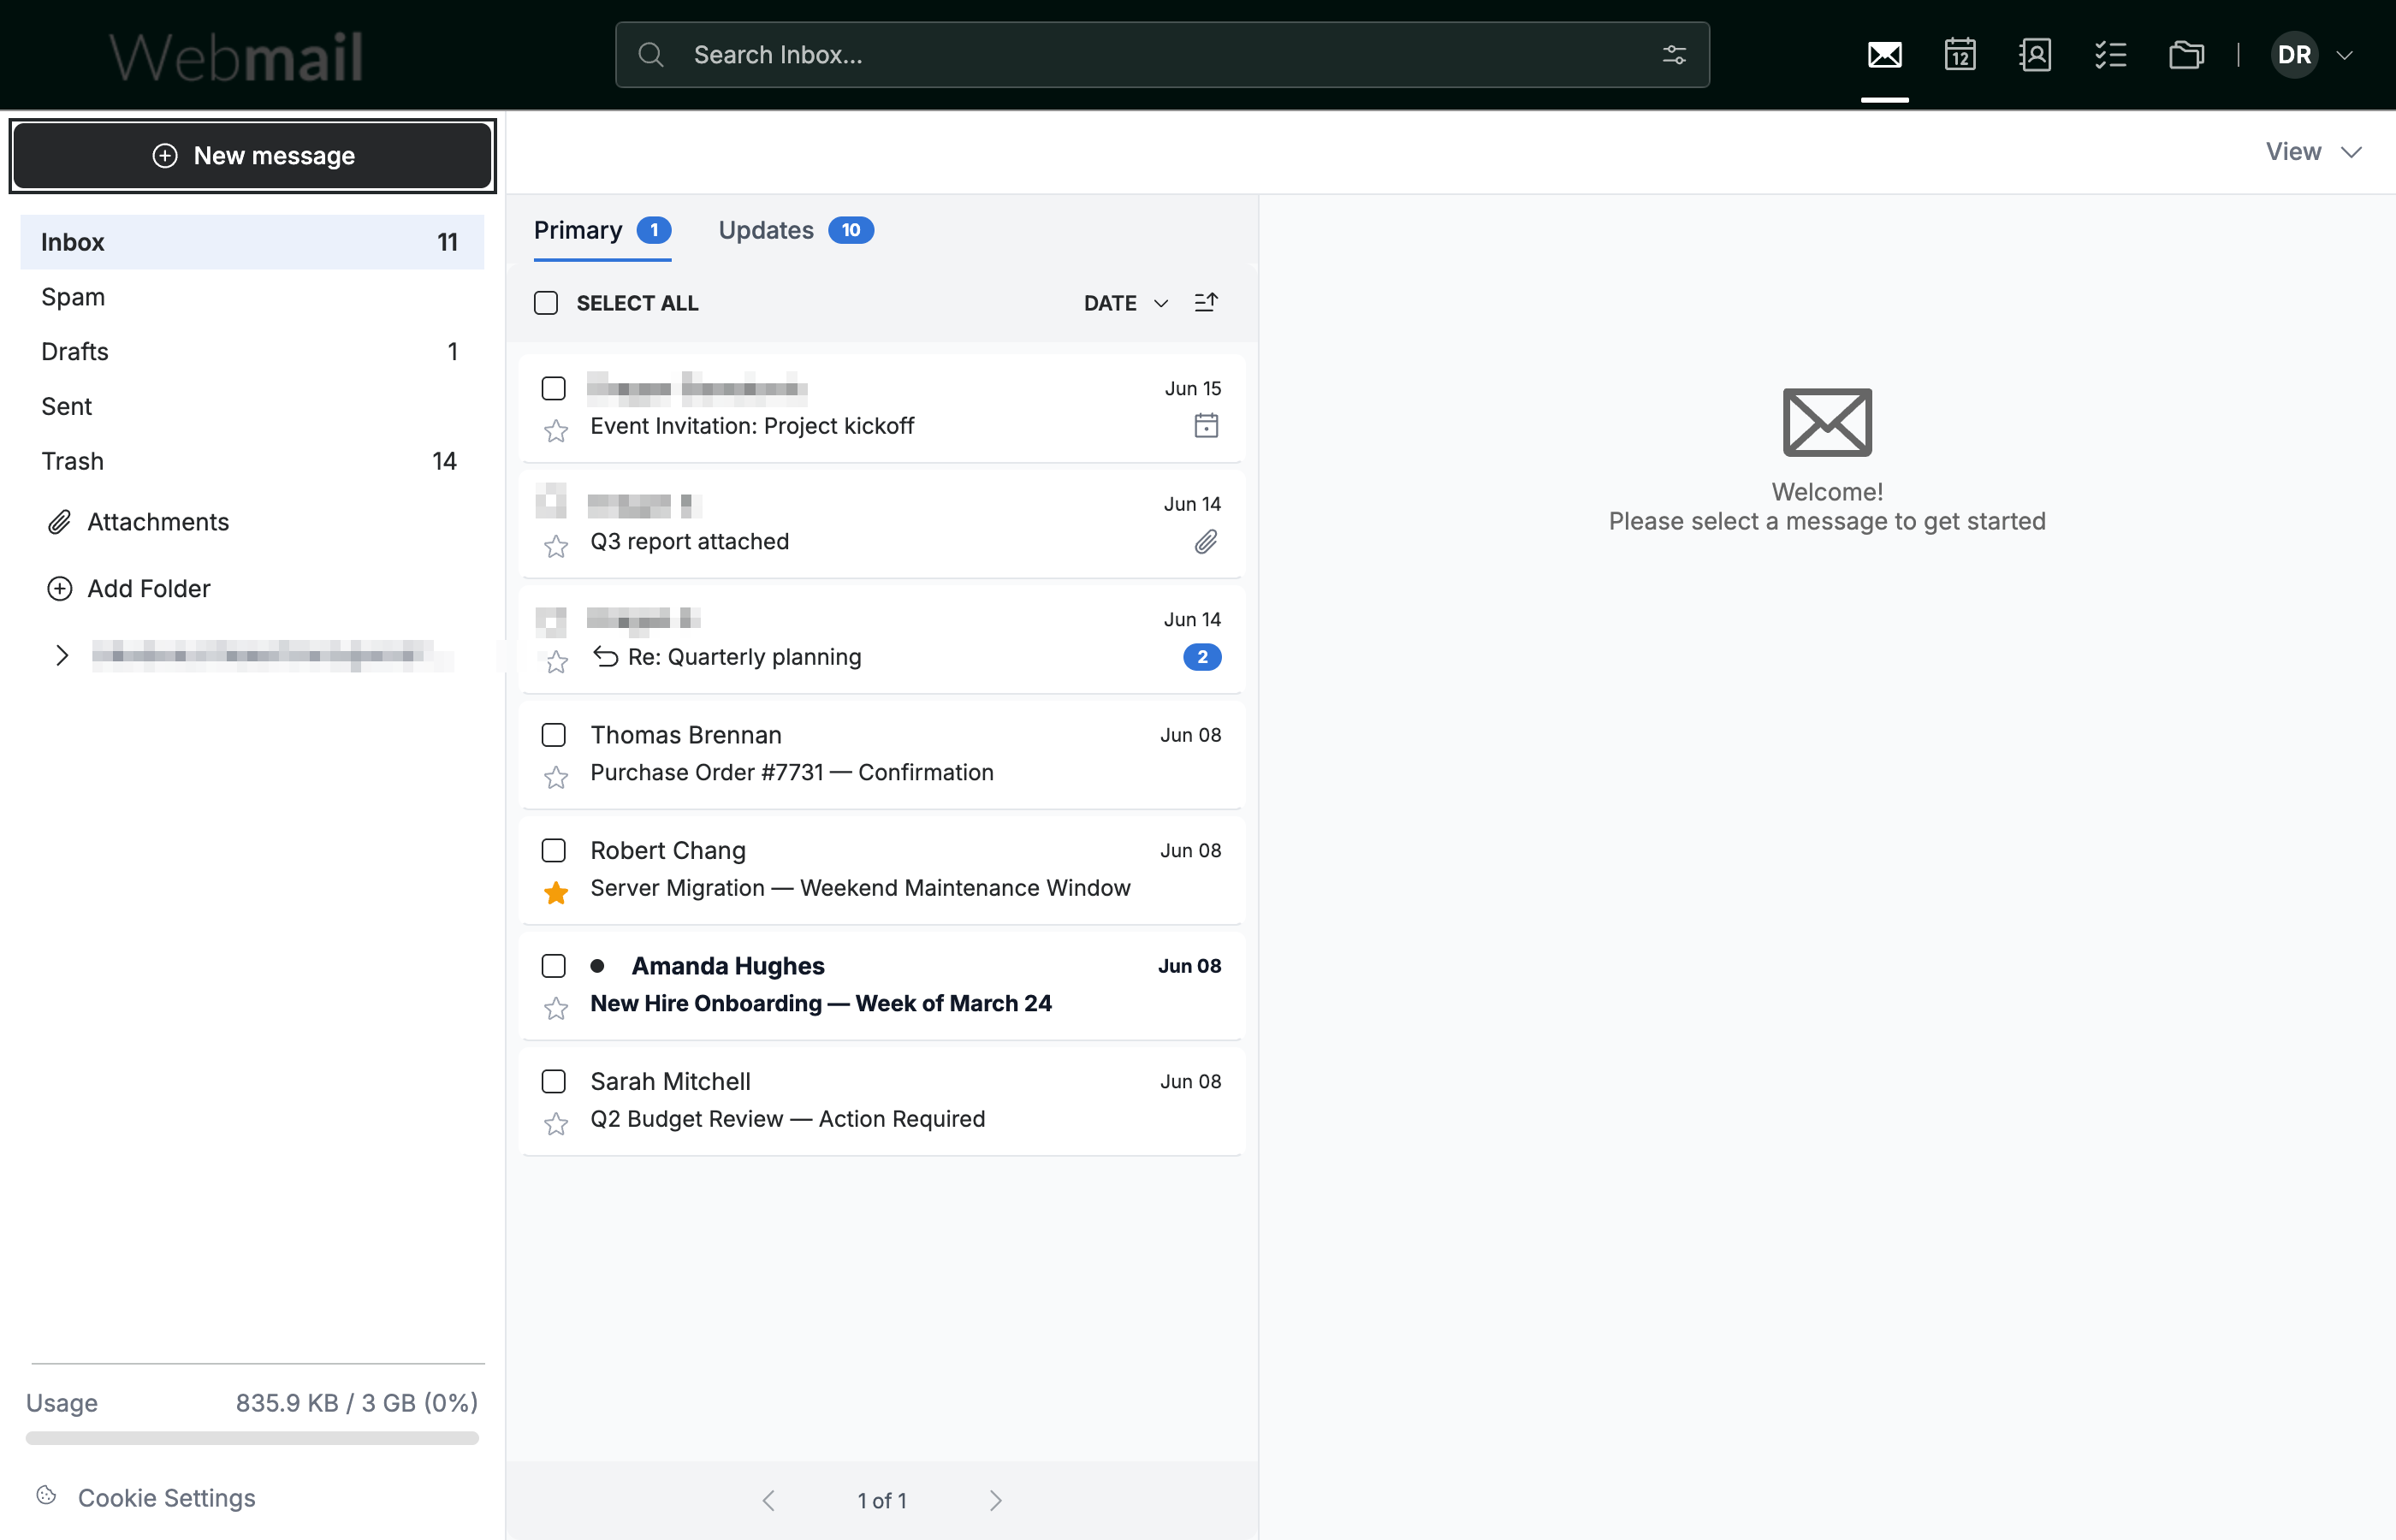
Step 1 — Click New message
Click New message in the top-left sidebar to open the compose window.
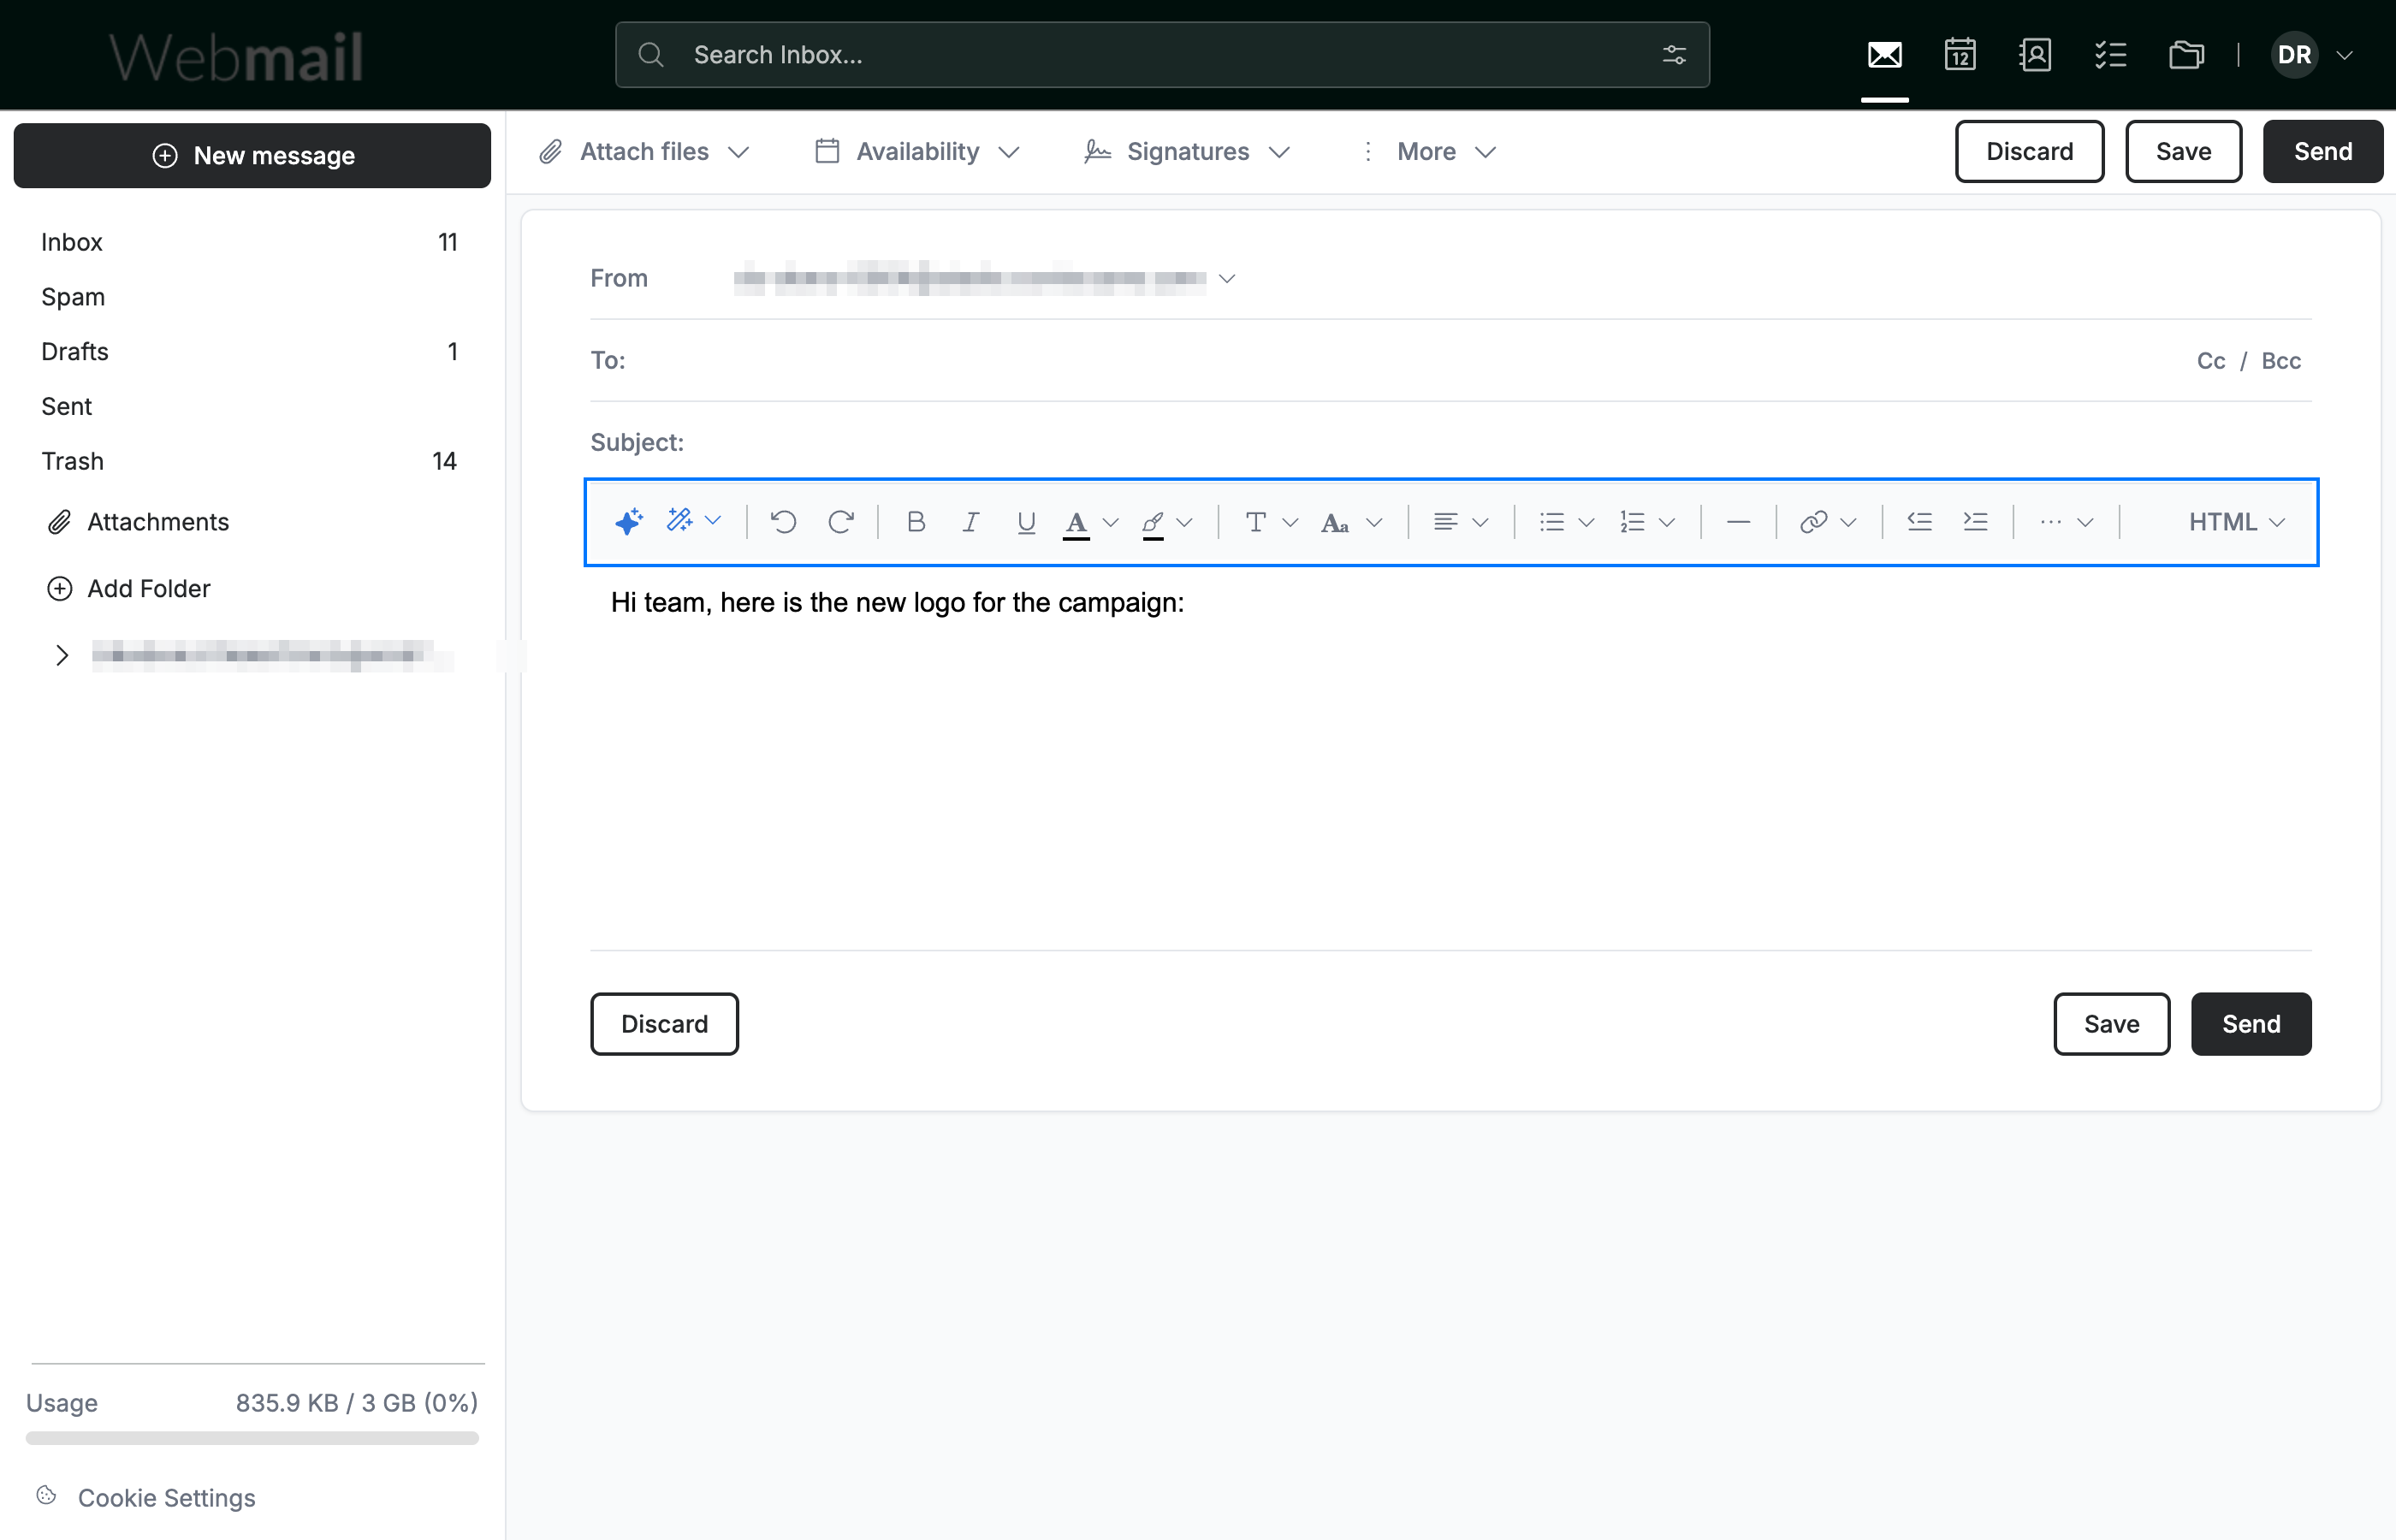
Step 2 — Click in the message body
Click inside the message body to start writing. The formatting toolbar appears directly above the body, giving you access to text styling and insert tools.
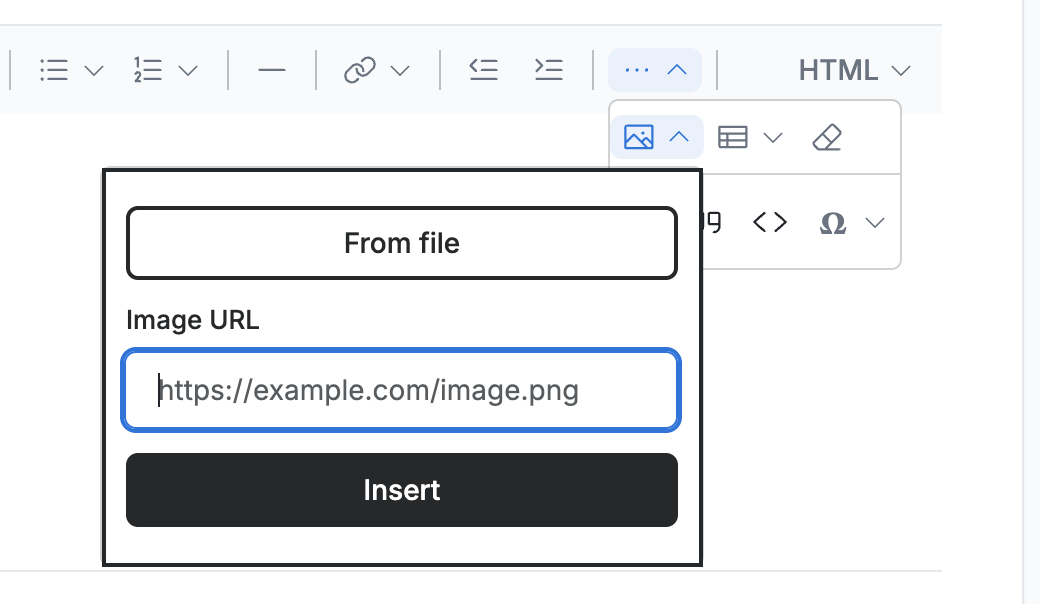
Step 3 — Click Insert Image
Click ··· at the right end of the formatting toolbar, then click Insert Image (blue). The image options open beside it.
Note: On a wider browser window the Insert Image button sits directly in the formatting toolbar instead of under ···.

Step 4 — Select an image source
Click From file to upload an image from your computer, or enter a web address in the Image URL field and click Insert.
Note: From file opens your computer's file browser. Choose a JPG, PNG, or GIF, and the image is added to your message right away.
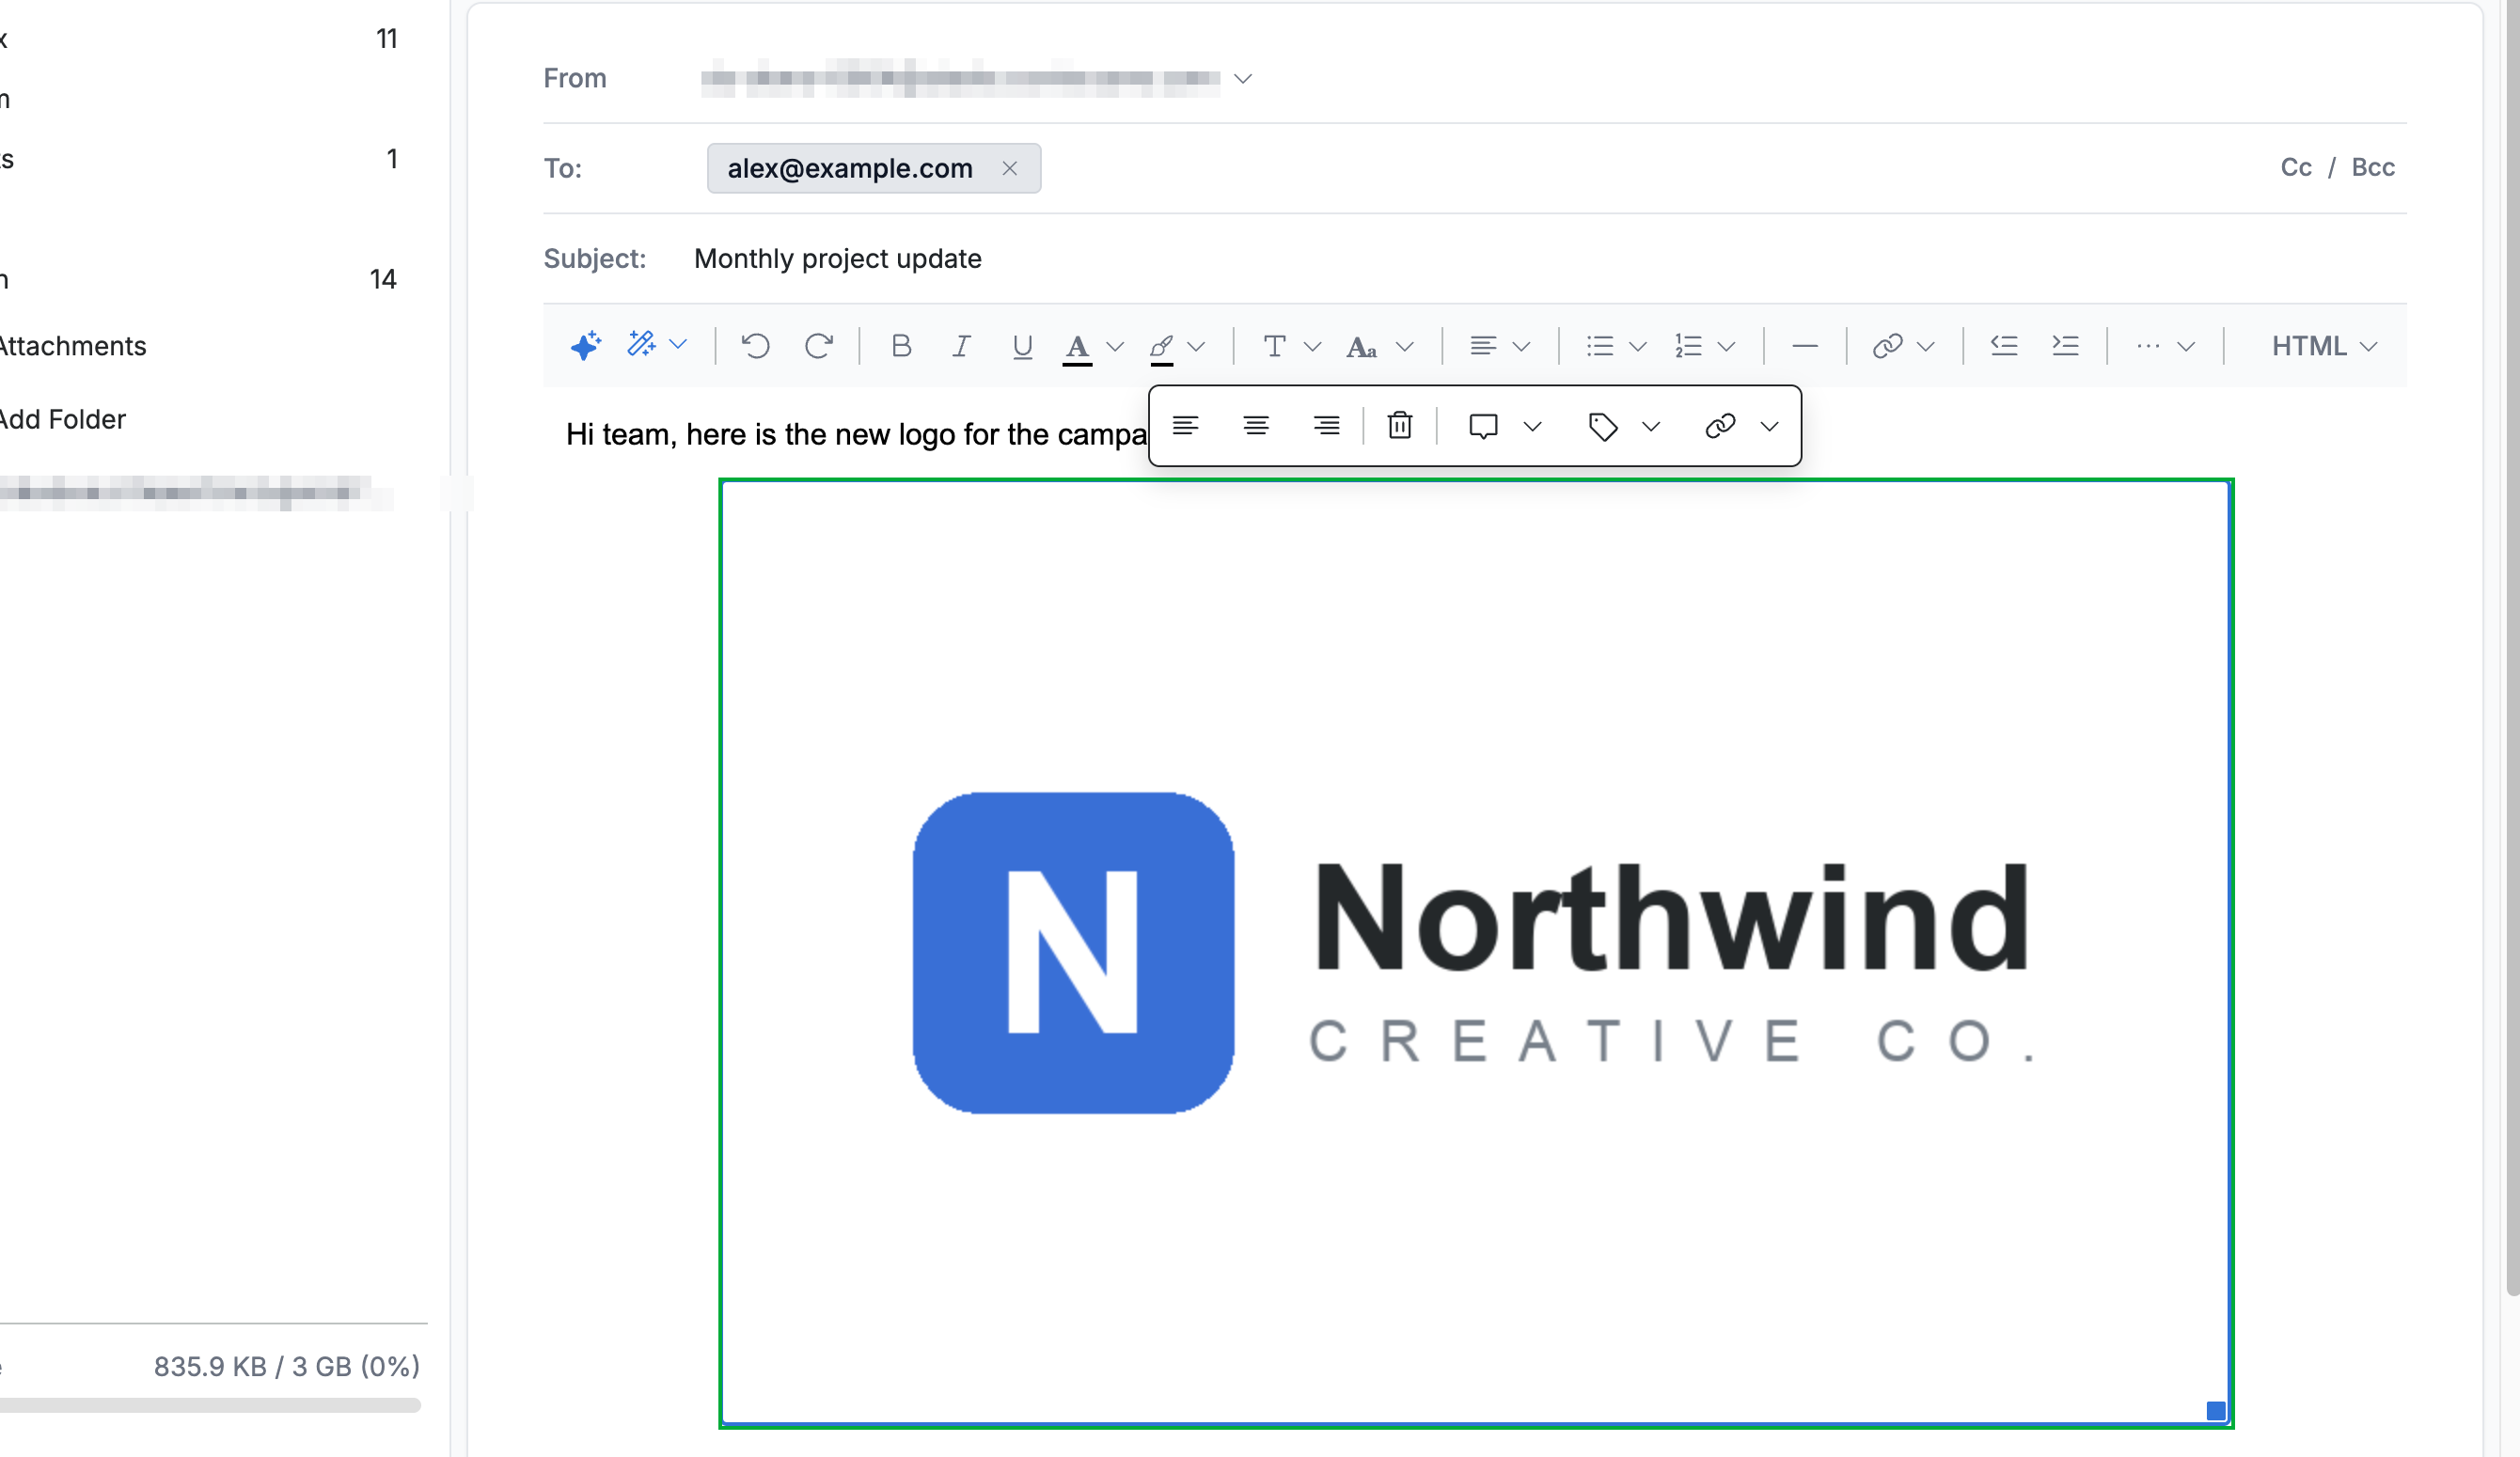
Step 5 — Click the image to select it
Click the image in your message to select it for editing.
Step 6 — Drag a corner handle to resize
Drag a corner handle inward or outward to resize the image. The handles appear at each corner once the image is selected.
Tip: Drag a corner handle rather than a side to keep the image's original proportions.

Explore our other guides to get the most out of Webmail.