Limit your auto-reply so it only answers messages that match rules you choose — for example, only emails with a certain subject. This guide shows how to add custom conditions to an auto-reply.
Step 1 — Open Settings
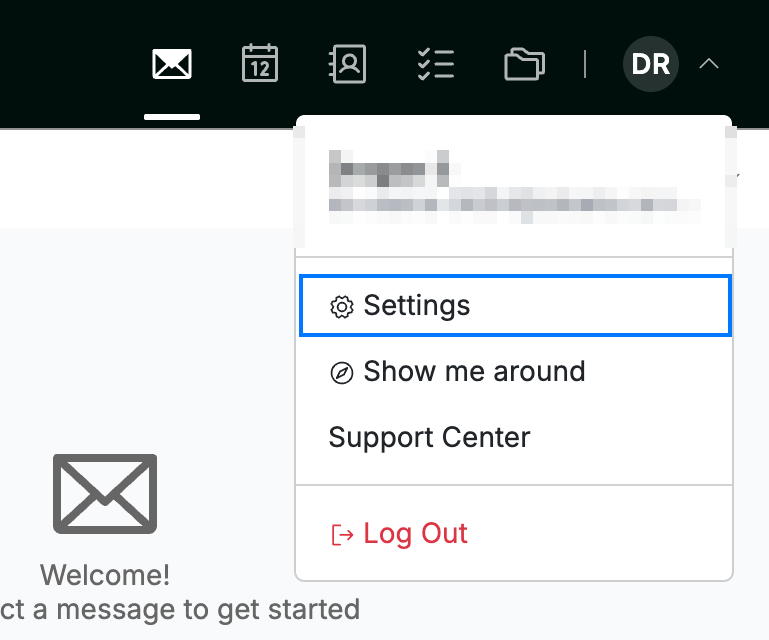
Click your avatar in the top-right corner and select Settings.
Step 2 — Select Auto-replies
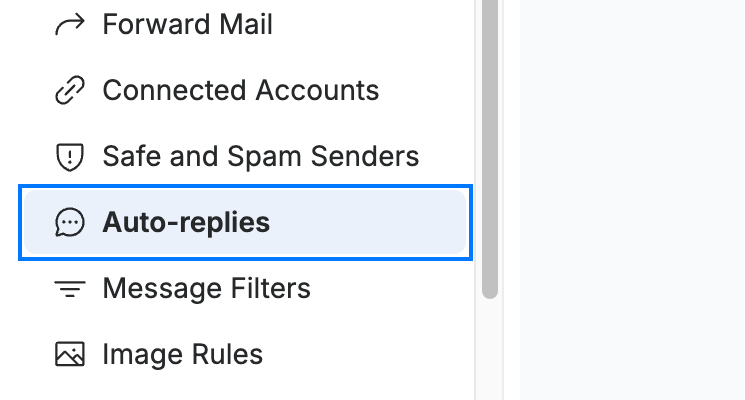
Select Auto-replies from the settings sidebar.
Step 3 — Open a new auto-reply
Click New Auto-Reply to open a blank auto-reply form.
Note: The Subject and Message fields are required (marked with an asterisk). Fill them in before saving, even when you only need to set conditions.

Step 4 — Apply custom conditions
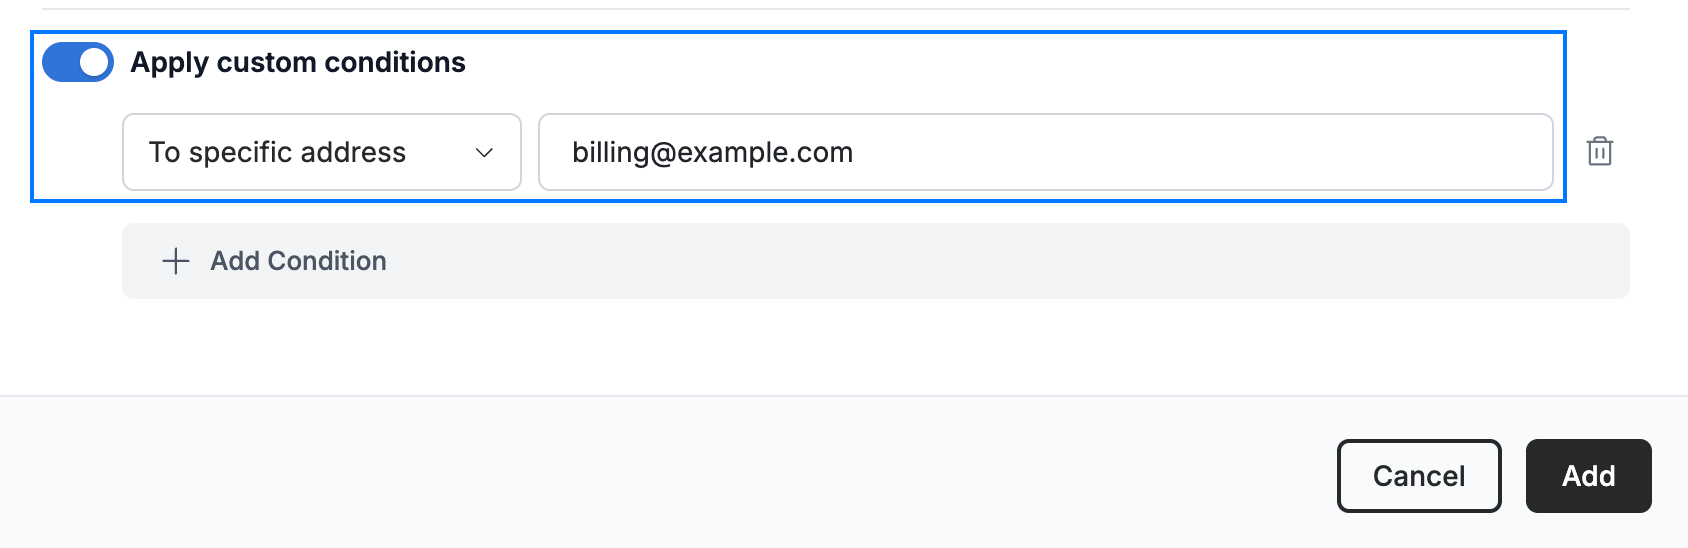
Click the Apply custom conditions toggle to reveal the condition fields. Set a condition by choosing a field — To specific address, From specific address, When CC'd, or Subject contains — and the text it must contain. Click Add Condition to require more than one.
Note: With conditions set, the auto-reply is sent only to messages that match. Leave conditions off to reply to every incoming message.
Click Add at the bottom of the form to save the auto-reply.
Explore our other guides to get the most out of Webmail.