The Calendar keeps your appointments, reminders, and shared schedules in one view. This tour shows the main areas so you can start adding and organising events.
Step 1 — Get to know the Calendar
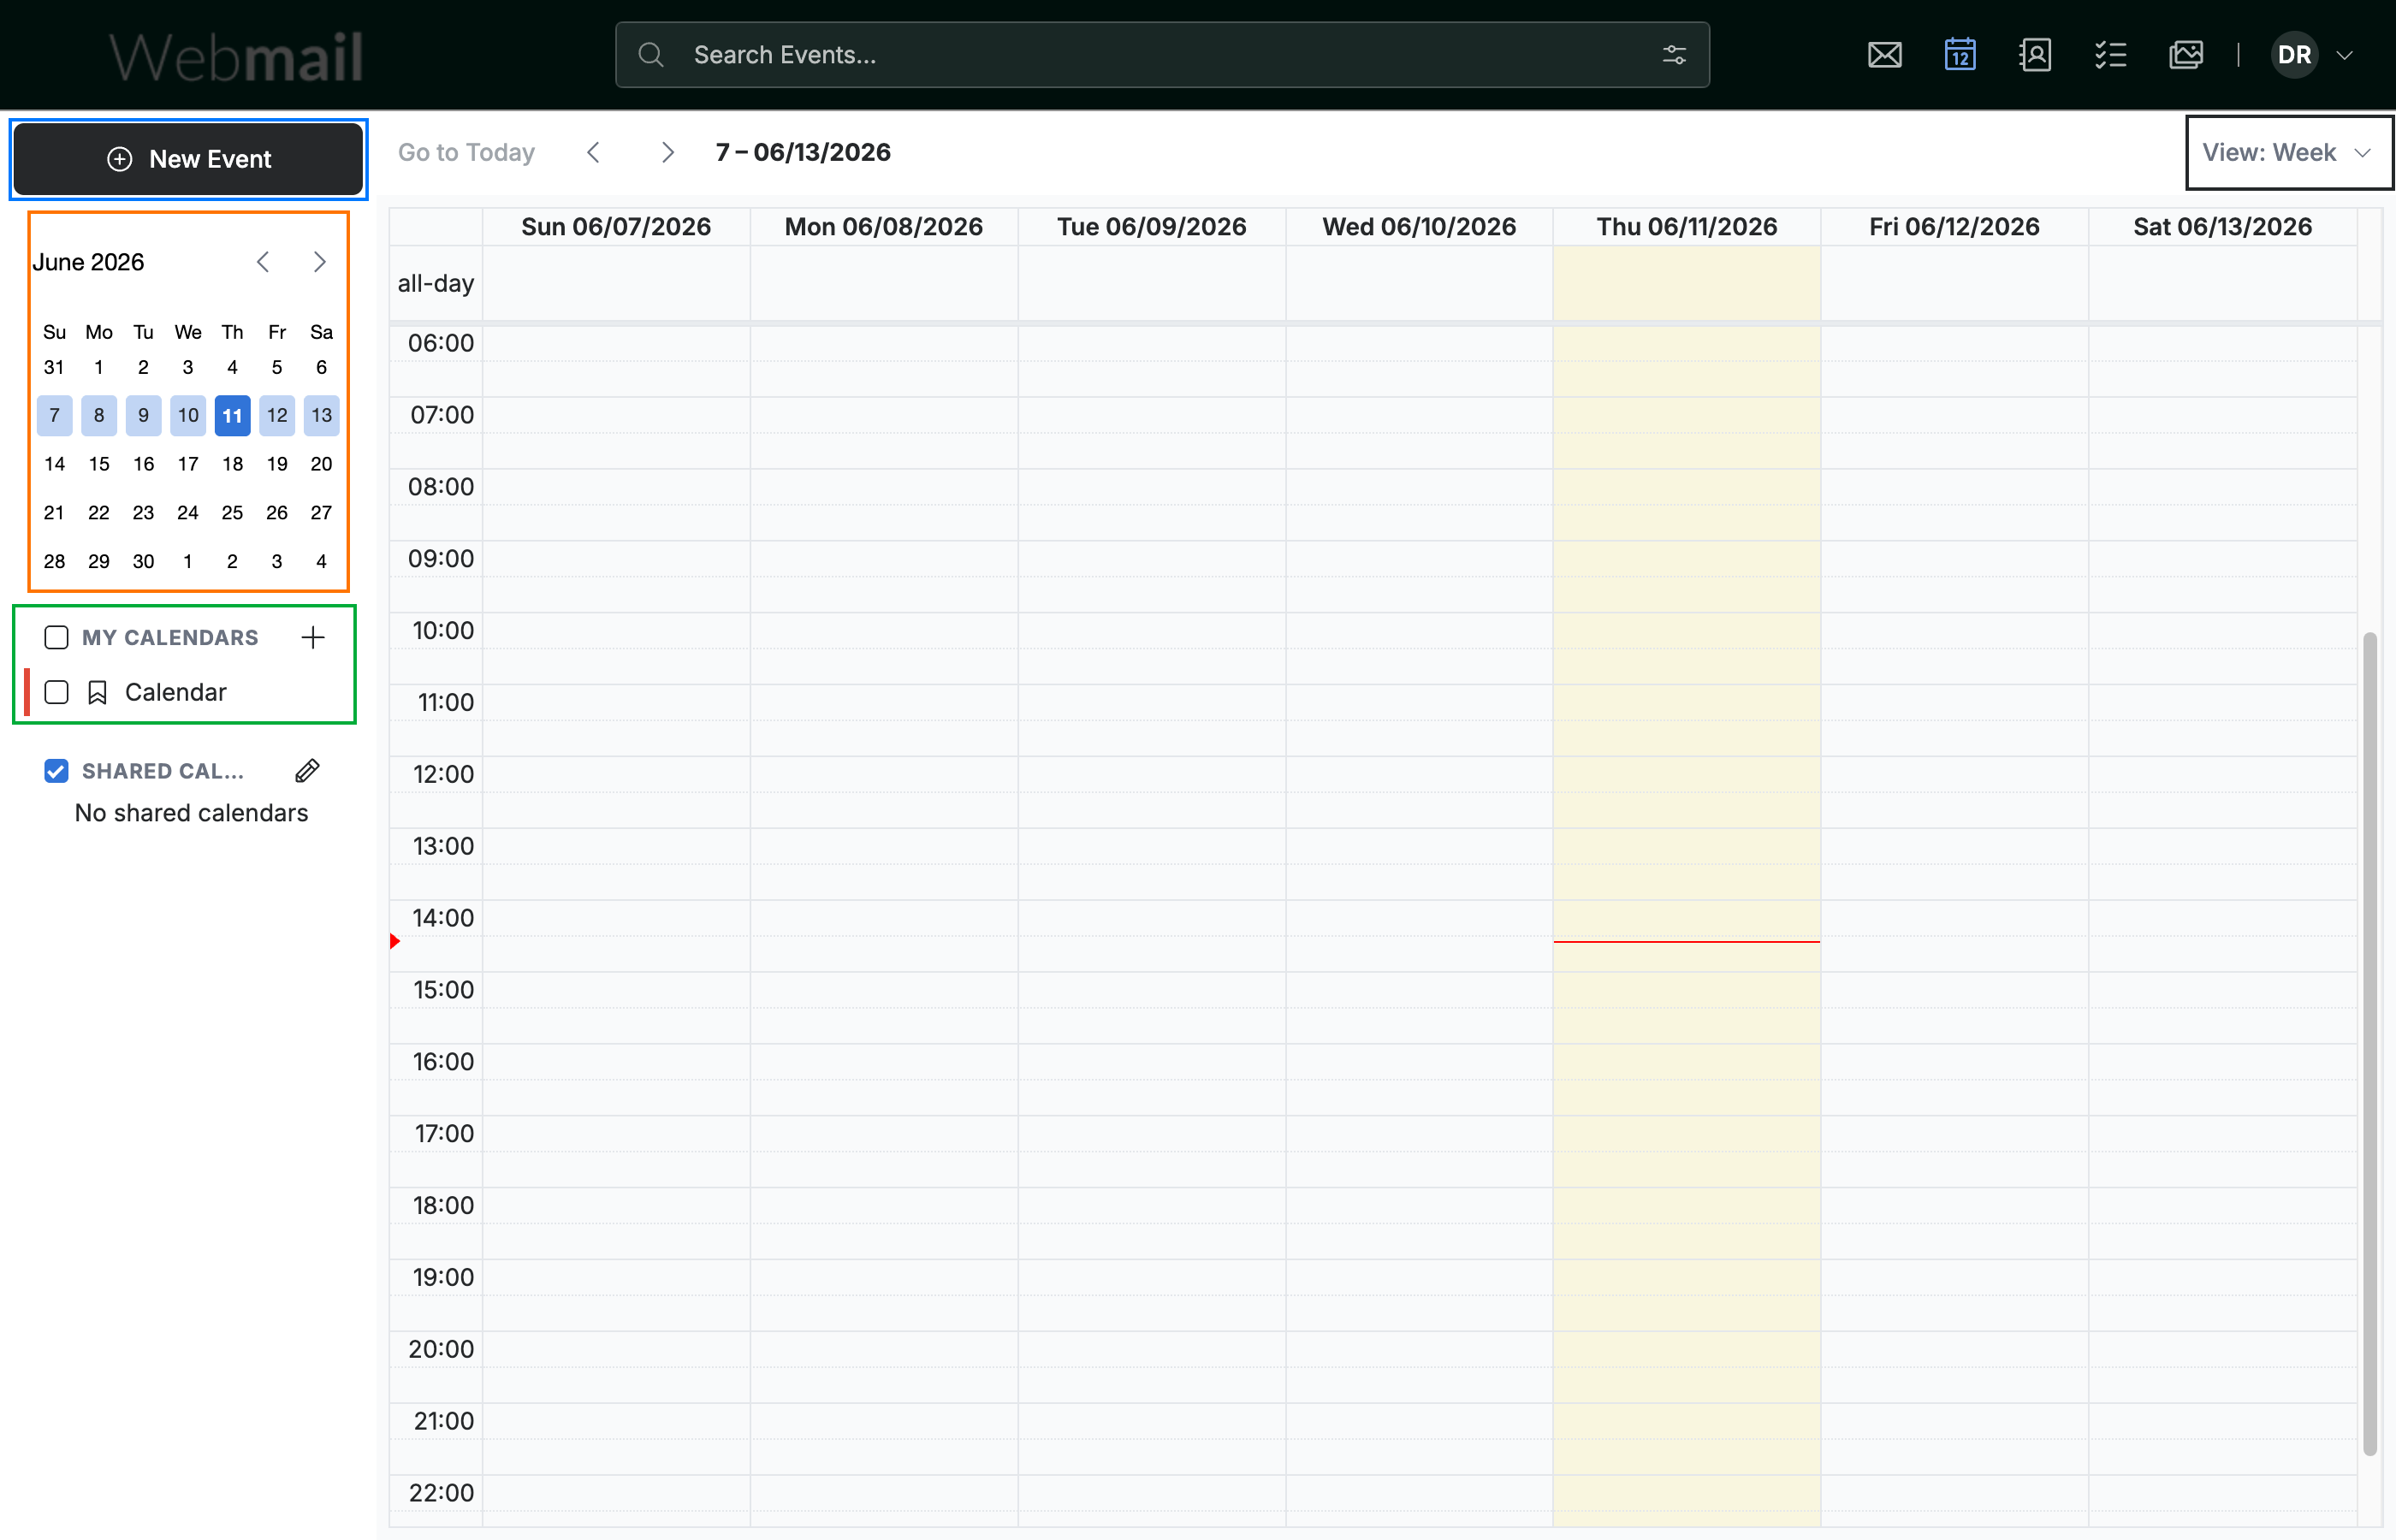
The Calendar has four areas to know:
- New Event (blue) — start a new appointment.
- The mini calendar (orange) — jump to any date quickly.
- My Calendars (green) — your calendars, each with its own colour.
- The View menu (black) at the top-right — switch how events are displayed.
Tip: Click any empty time slot in the main grid to start an event on that date and time.
Step 2 — Choose how to view your events
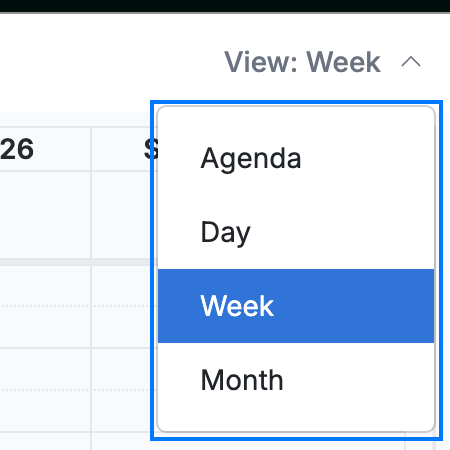
Open the View menu to switch layouts:
- Day — a single day in detail
- Week — the whole week at a glance
- Month — a month overview
- Agenda — your events as a simple list
Step 3 — Add an event
Click New Event to open the event form, where you can:
- Set the date, time, and location
- Add reminders and make the event repeat
- Invite attendees and check their availability
Tip: Turn on Repeat in the event form to schedule daily, weekly, monthly, or yearly events in one go.

Step 4 — Manage your calendars
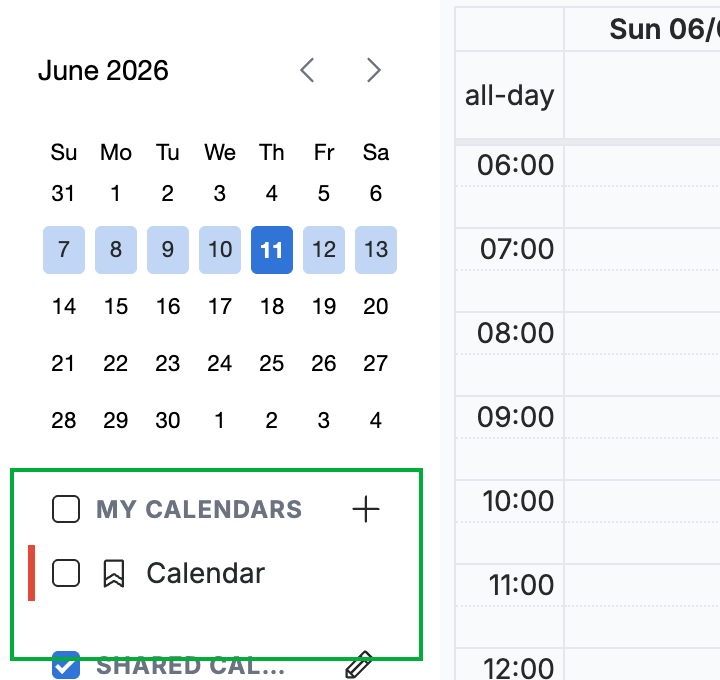
Use the My Calendars list to keep separate calendars — for example, work and personal — each in its own colour. From here you can:
- Add a new calendar with the + button
- Show or hide a calendar with its checkbox
- Share a calendar with other people
Tip: Use the mini calendar above the list to jump straight to a specific date.
Explore our other guides to get the most out of Webmail.