The Safe and Spam Senders panel controls which messages reach your Inbox. This guide walks through tuning the spam filter, verifying that incoming mail is authentic, and maintaining your lists of safe and blocked senders.
Step 1 — Open Settings
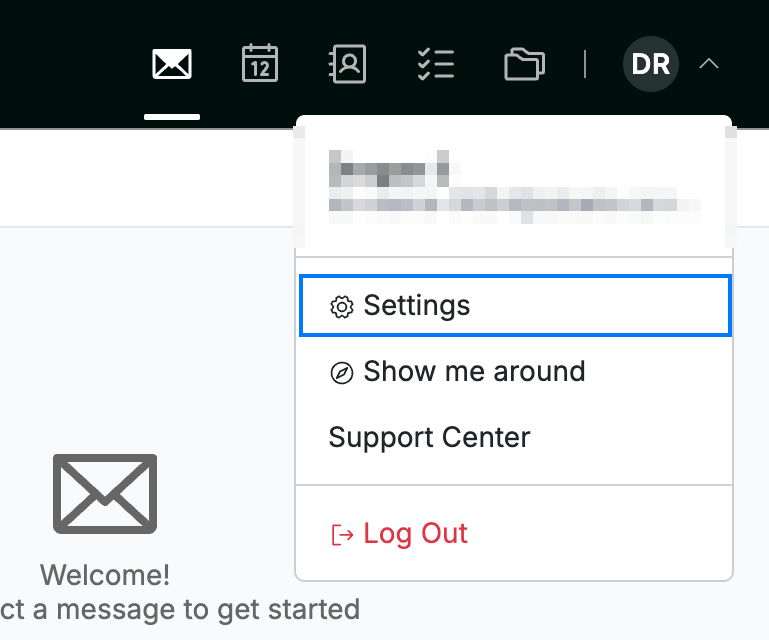
Open the user menu by clicking your initials in the top-right corner, then click Settings.
Step 2 — Select Safe and Spam Senders
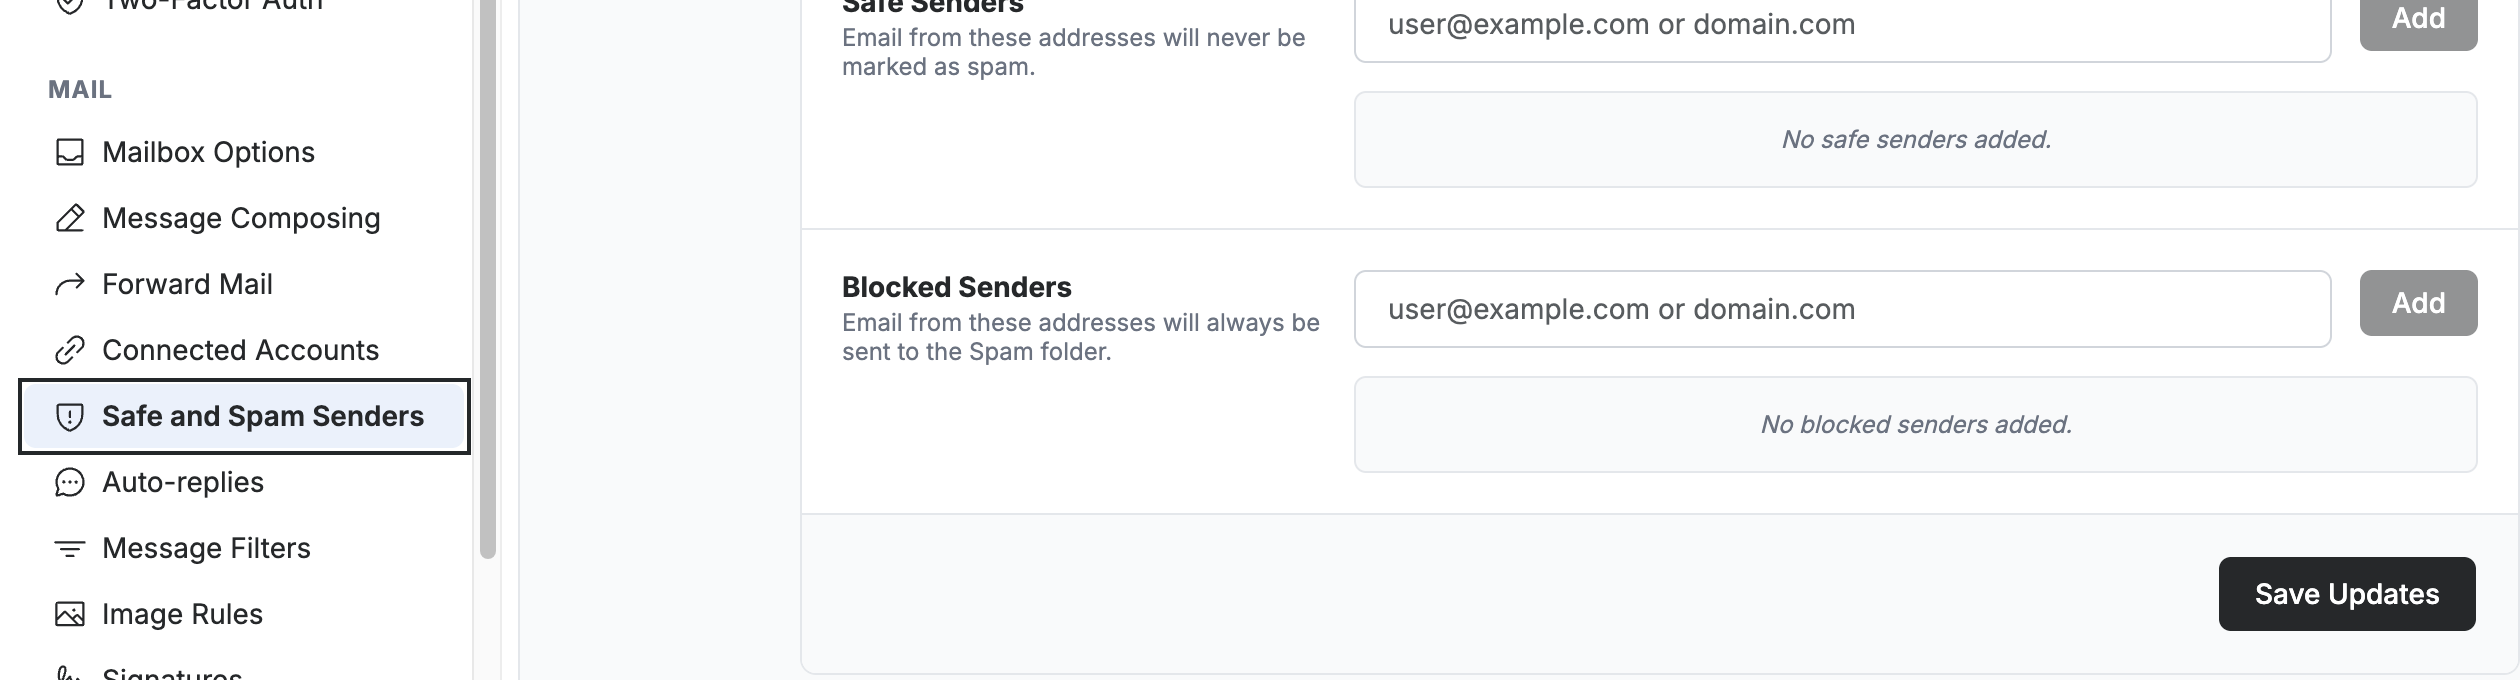
Select Safe and Spam Senders from the left sidebar, under the Mail section.
Step 3 — Enable the spam filter and set the filter strength
Select Enable spam filter (blue) to turn on spam filtering, then set the Filter strength (orange) to Light, Standard, or Aggressive.
Tip: Start with Standard. Aggressive catches more spam but is more likely to flag legitimate mail.

Step 4 — Choose the filter outcome
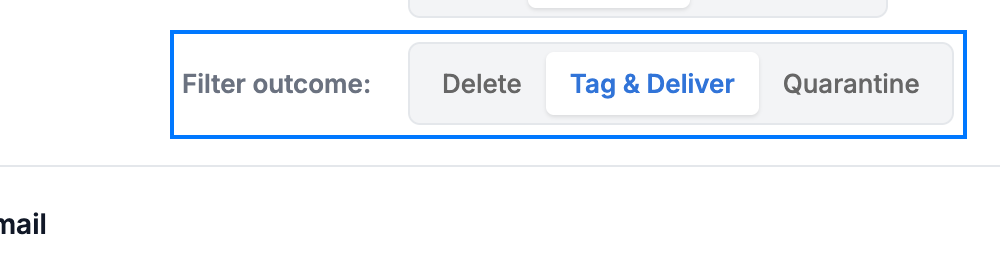
Set the Filter outcome to control what happens to messages the filter flags as spam:
- Delete — the message is discarded immediately.
- Tag & Deliver — the message is marked as spam and delivered to your Inbox.
- Quarantine — the message is held for review instead of being delivered.
Step 5 — Enable inbound email authentication
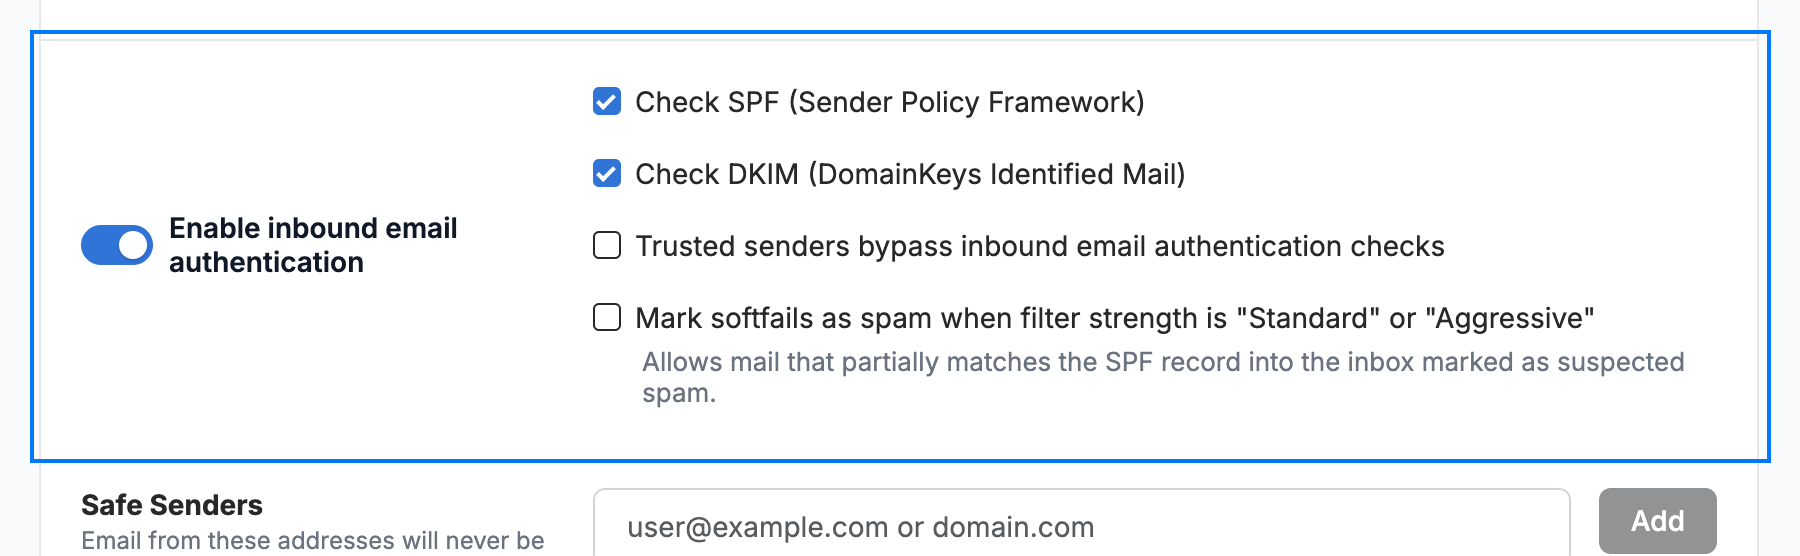
Select Enable inbound email authentication to verify that incoming mail really comes from the domain it claims. The section expands with these options:
- Check SPF (Sender Policy Framework) — confirms the sending server is authorised to send for the domain.
- Check DKIM (DomainKeys Identified Mail) — confirms the message was not altered in transit.
- Trusted senders bypass inbound email authentication checks — skips these checks for addresses on your safe list.
- Mark softfails as spam when filter strength is "Standard" or "Aggressive" — treats mail that only partially matches the SPF record as suspected spam.
Note: Inbound email authentication is off by default. Enable it only if you understand SPF and DKIM — strict checks can flag legitimate mail from misconfigured senders.
Step 6 — Add safe and blocked senders
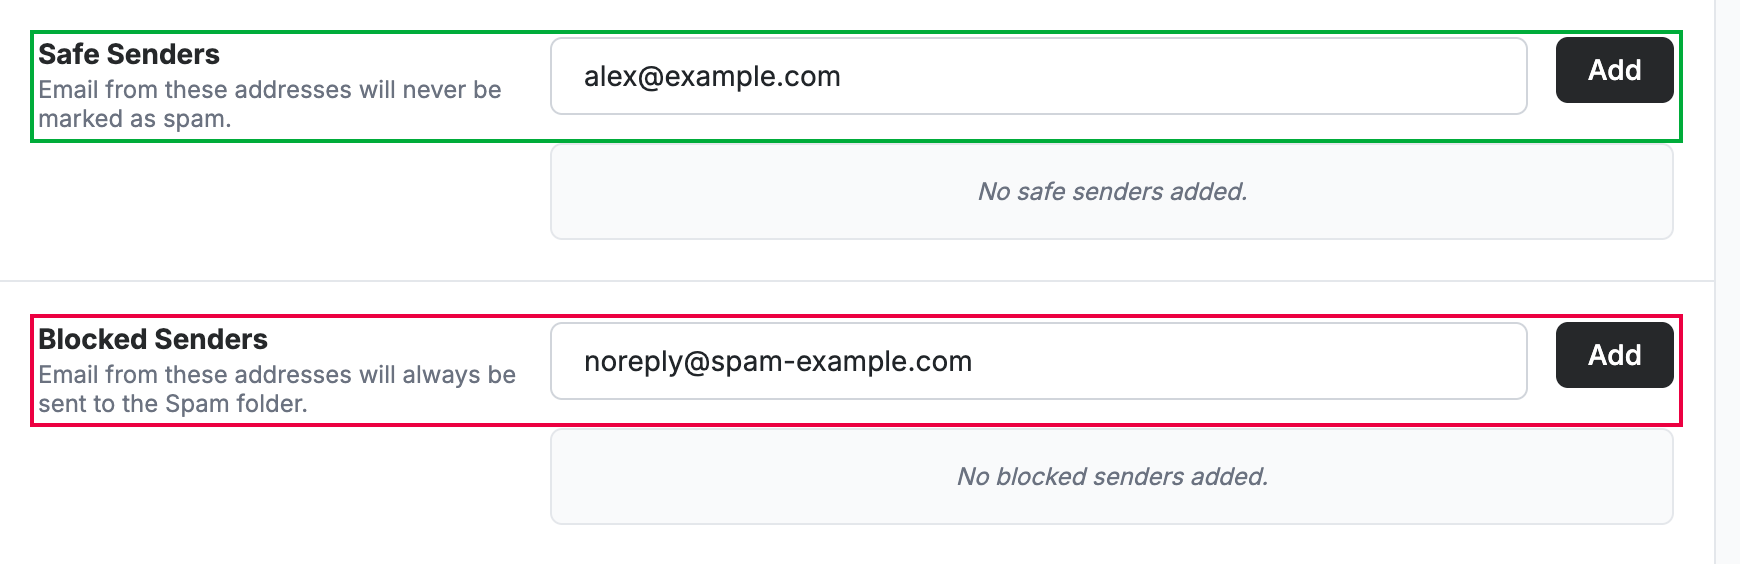
Enter an address in Safe Senders (green) and click Add — mail from these addresses is never marked as spam. Enter an address in Blocked Senders (red) and click Add — mail from these addresses is always sent to the Spam folder.
Tip: Enter a whole domain (for example, `example.com`) to trust or block every sender at that domain.
Step 7 — Save your changes
Click Save Updates to apply your spam filter and sender settings.

Explore our other guides to get the most out of Webmail.