Message filters automatically sort incoming mail — moving, forwarding, or deleting messages that match conditions you set. This guide walks through creating a filter from the Message Filters panel: its title, matching rule, conditions, and action.
Step 1 — Open Settings
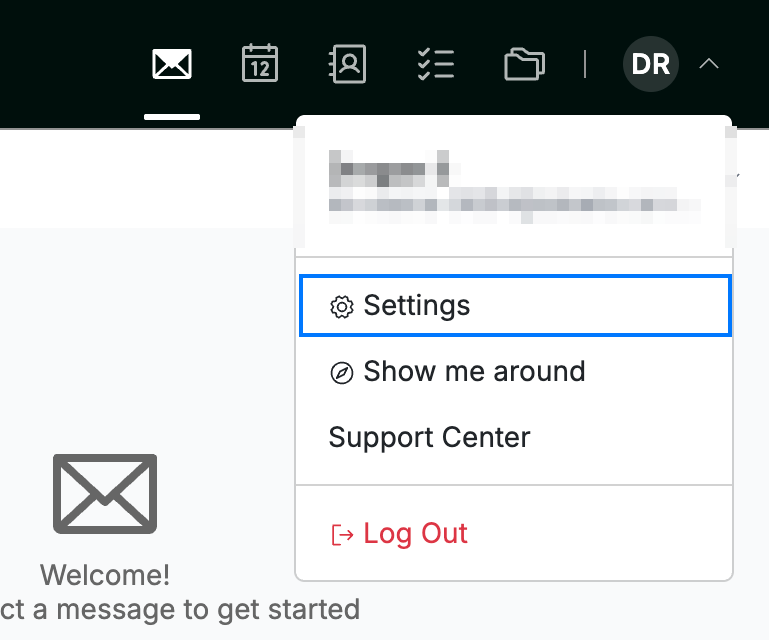
Open the user menu by clicking your initials in the top-right corner, then click Settings.
Step 2 — Select Message Filters
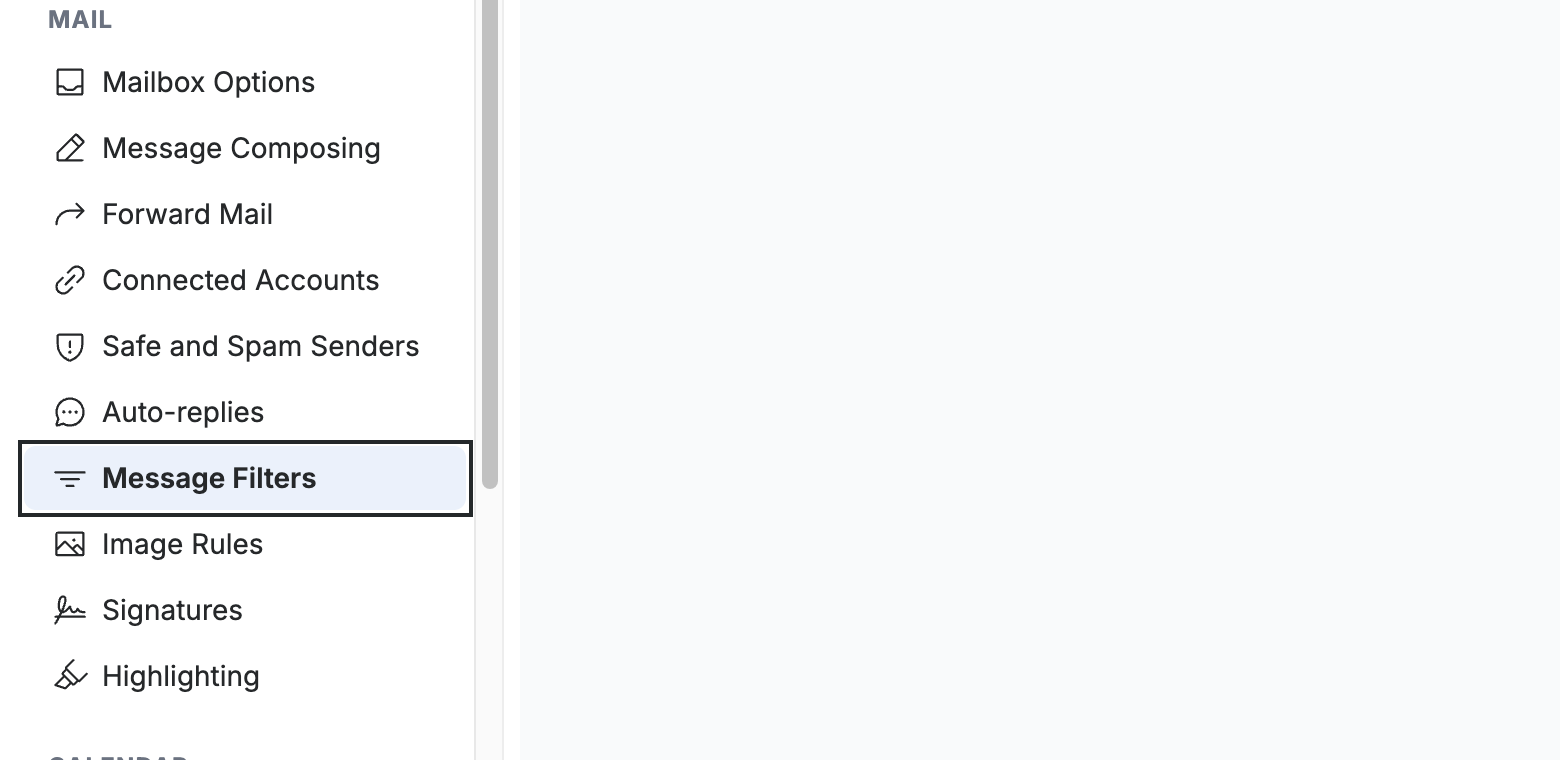
Select Message Filters from the left sidebar, under the Mail section.
Step 3 — Click New Filter
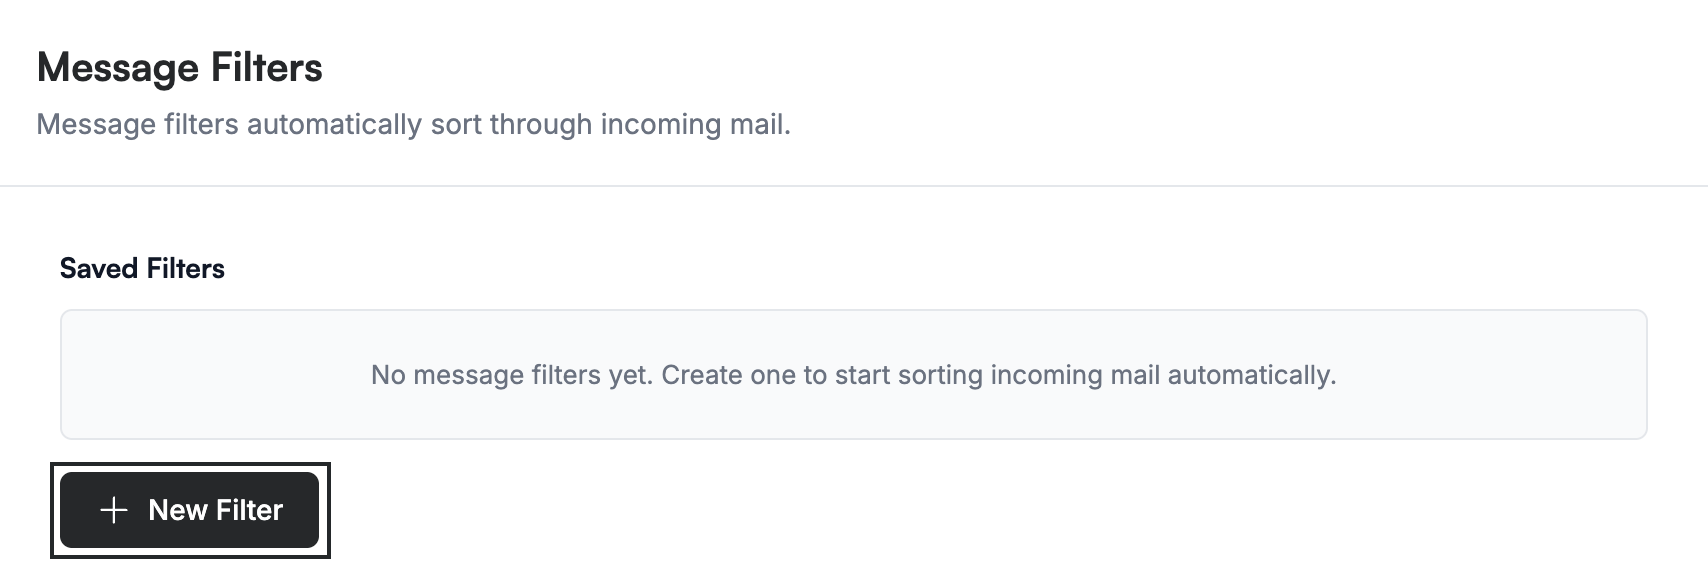
Click New Filter to open the filter form.
Step 4 — Enter a filter title
Enter a name for the filter in the Title field.

Step 5 — Choose how conditions are matched
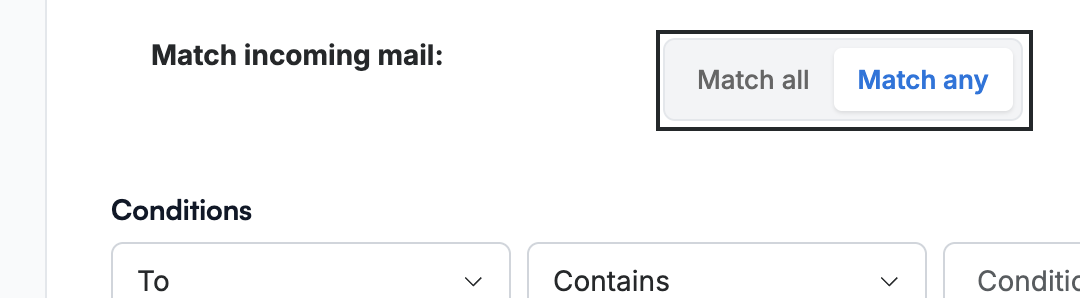
Select how the filter matches incoming mail: Match all to require every condition, or Match any to match when at least one condition is true.
Step 6 — Set a condition
Set a condition: choose the message part to check (To, Subject, From, Cc, or Priority), the comparison (Contains, Doesn't contain, Equal to, and so on), and the value to match. To match on more than one rule, click Add Condition.

Step 7 — Choose the action
Select the action to take on matching mail under Perform the following action: Copy or Move to a folder, Forward or Forward a copy to another address, or Delete. Then set the destination beside it.
Note: The destination changes with the action — Copy and Move list your folders, while Forward and Forward a copy ask for an email address.

Step 8 — Save the filter
Click Add to create the filter. It is added to your saved filters and starts sorting new incoming mail.
Tip: To edit or remove a filter later, return to this panel and select it from the saved list.

Explore our other guides to get the most out of Webmail.