After your first sign-in, a few quick settings make Webmail your own. This tour walks through the essentials — your display name, date and language, and theme — so you're ready to go.
Step 1 — Open Settings
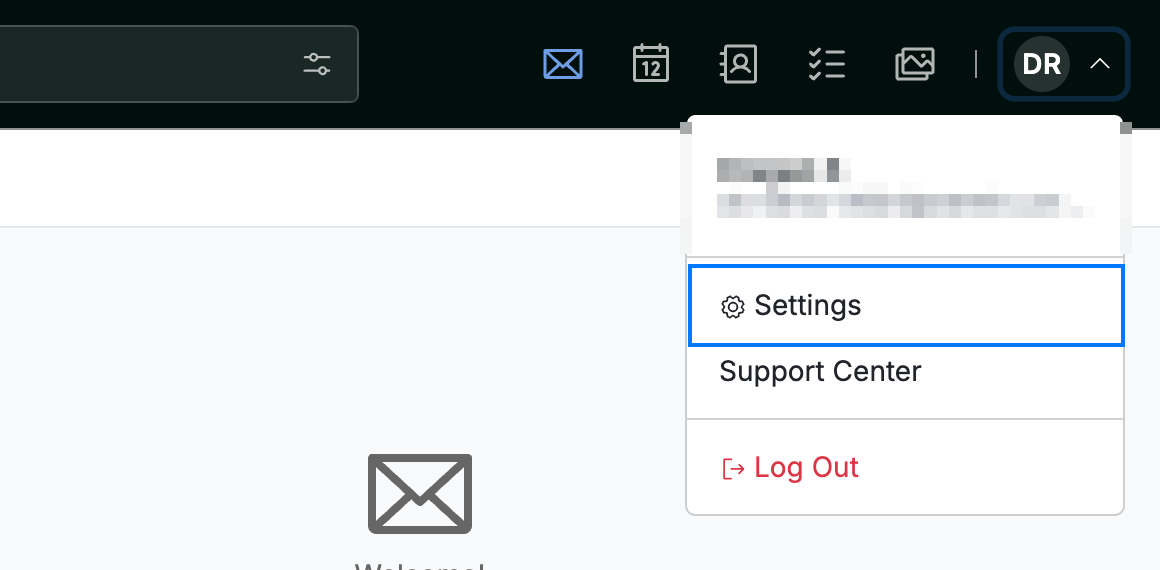
Click your avatar in the top-right corner and select Settings.
Tip: All the settings in this tour live in the sidebar of the Settings page.
Step 2 — Set your display name
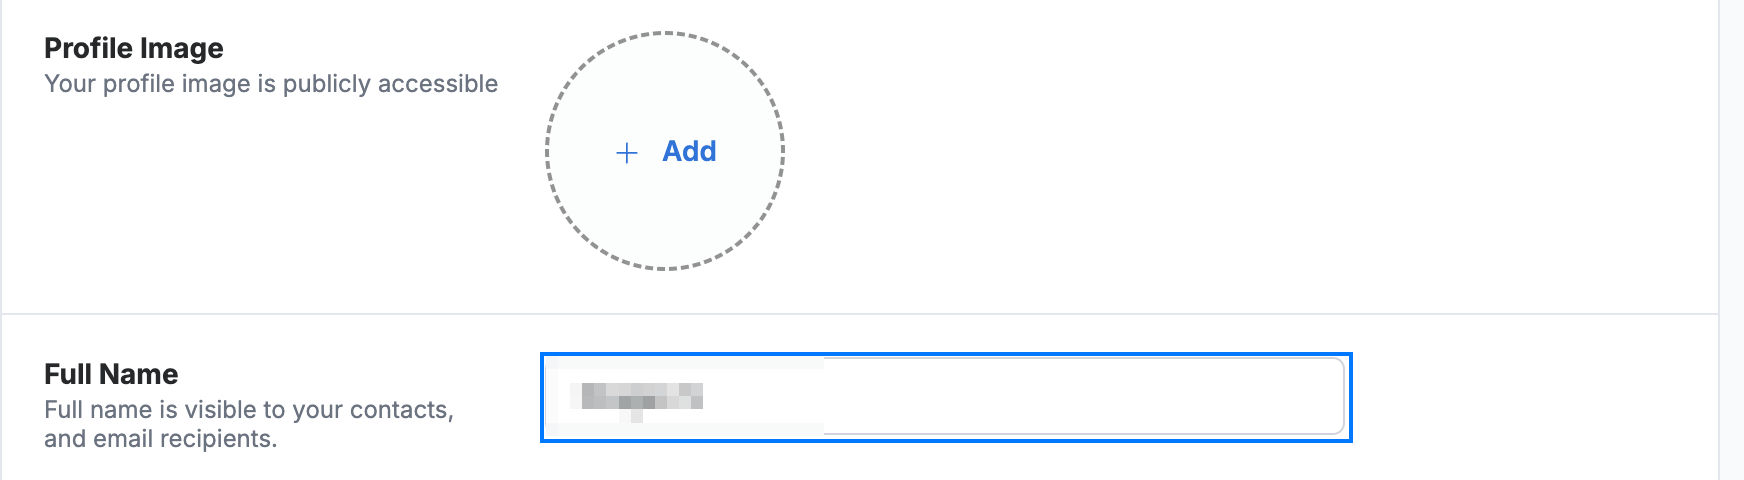
Enter how you want your name to appear in the Full Name field (blue) on the Profile panel. You can also add a profile image here.
Tip: Your display name is what recipients see in the From field of your emails.
Step 3 — Set your date, time, and language
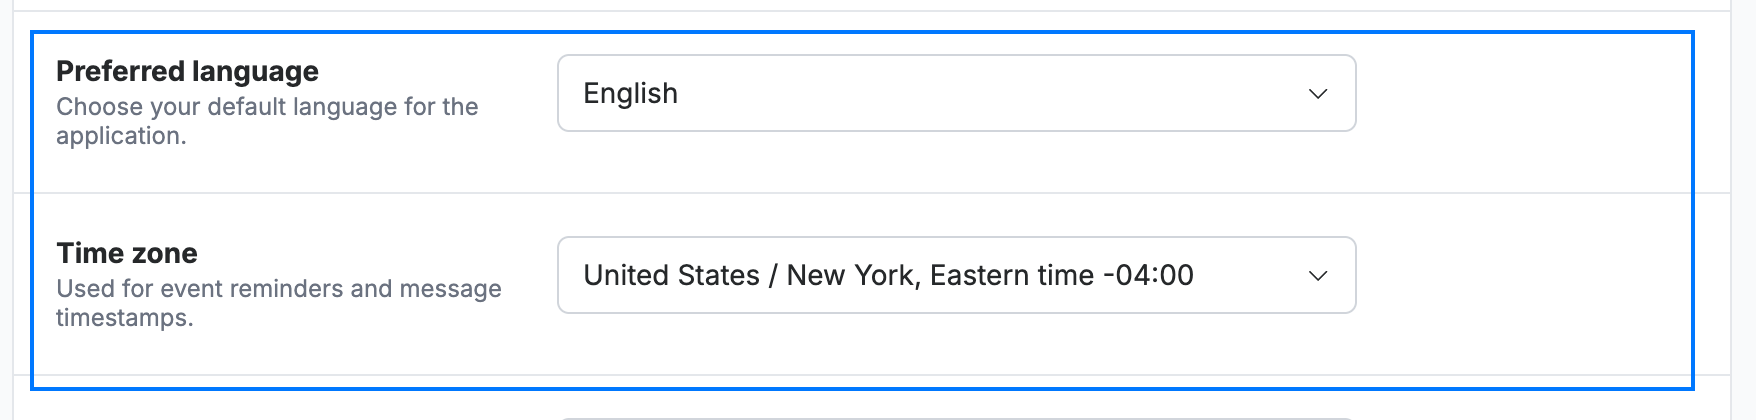
Open the Date and Language panel and set your Preferred language and Time zone (blue), plus your date and time formats.
Tip: Setting the correct time zone keeps your calendar events and message timestamps accurate.
Step 4 — Choose a theme
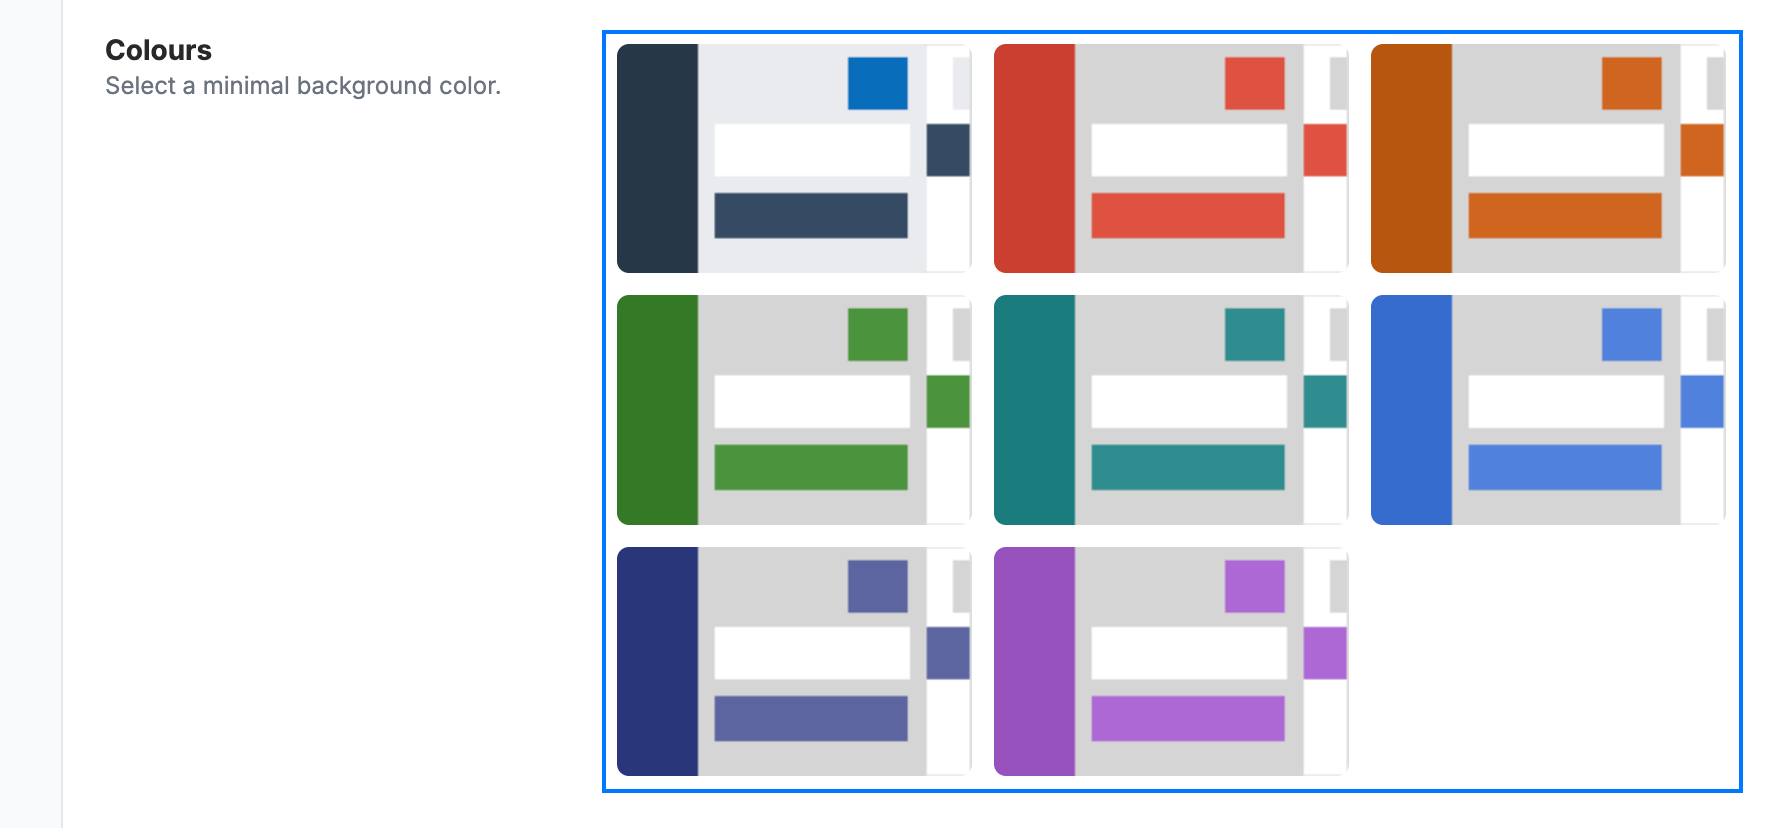
Open the Theme panel and select a look from the Colours grid (blue), or scroll down to pick a Background Image.
Tip: When you're set up, add an email signature from Settings > Signatures to finish off your outgoing mail.
Explore our other guides to get the most out of Webmail.