Go to the Websites tab in the header and select Get Started to view a selection of templates. The Welcome to Online Presence Builder page opens. Here, you will be guided through the steps to publish your site.
To Add a New Site:
- Go to the Websites tab in your Portal.
- Choose one of your existing domains.
- Click Add New Site
If you already started creating your website, you will be directed to the site editor from here. If this is your first time creating a site for the selected domain, follow these steps:
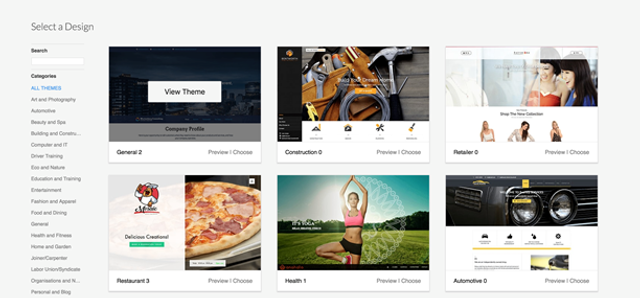
Use the scroll bar to view all options. As the theme images are thumbnail sized images, you can select View Theme to enlarge it. On the Select a Design screen, you can browse through the list of available themes using the categories section on the left or by selecting All Themes and scrolling down.
1. Hover over your choice and select View Theme.
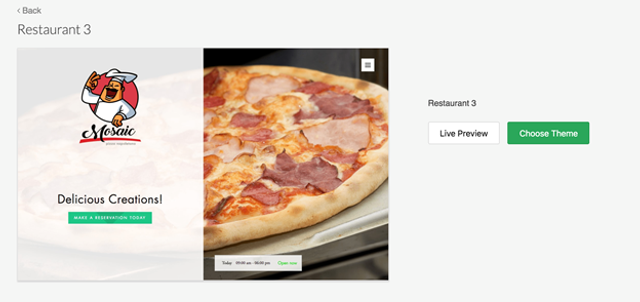
2. To see how your site will look to customers online, select Live Preview.
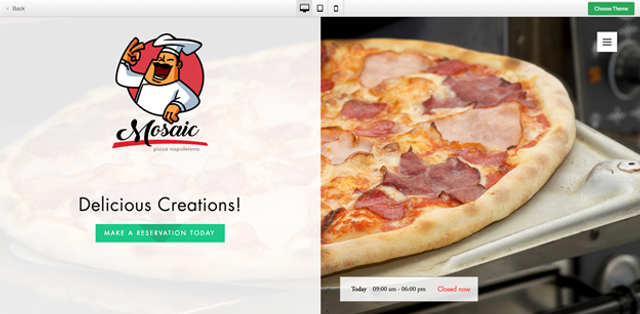
3. Select Choose from the categories section, or Choose Theme from the detailed theme screen.
First fill out your business information.
1. In the Business Information screen, enter a name.
2. In the Business Type drop-down, select the category that best represents your business.
3. Verify and update your company information, if needed.
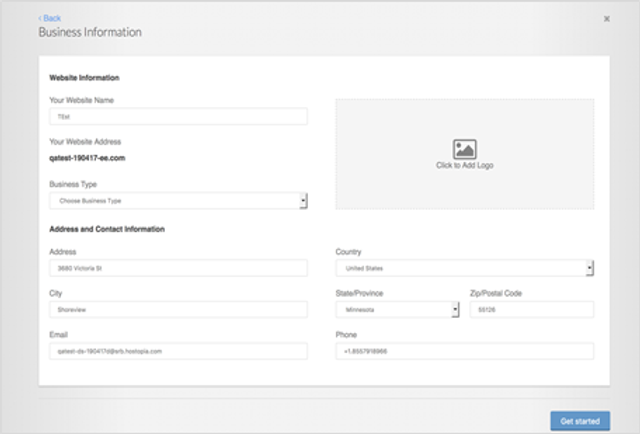
4. Click Get Started
Your Website will open in Edit mode. Here, you can edit your site and publish it.